Decorated mugs are a great way to start or grow a customization business. They are easy to make and can be a great addition to your customer’s already existing t-shirt order. Custom mugs are also a great Etsy retail item! Follow the instructions below to start making custom mugs!
Products Needed to Complete This Project:
– Metallic Mugs from BestBlanks.com
– DigitalHeat FX White Toner Printing System
Steps To Decorating Coated Mugs:
#1 – The first step is to adjust the toner coverage in the print optimizer software. This will ensure that the color from the mug does not seep through your design. First you will click on Color Adjust in your queue settings. We have found the magic number for these mugs that we’re using here today to be a coverage percentage of 225, but please note that this percentage can change depending on color and type of mug. We are now ready to press Print.
#2 – The mugs we have here today are metallic gold and metallic silver mugs from BestBlanks.com. Now these are sublimation-ready mugs, so we will be following the coated mugs instructions that come with your EZ Peel Hard Surface Paper or can be found on the product page. I am also using a bit of heat tape to secure our cut out transfer onto our mug. We want to make sure this is a really nice and tight fit. Basically, you don’t want to see any gaps between your transfer and your mug because they will ultimately cause wrinkles on your design.
#3 – Coated mugs with heating from the outside call for 265 degrees for three minutes. When you put your mug inside the Digital Knight press, be very careful for the handle because we will be pressing this on a pretty high pressure. Now we’re going to let this bake.
#4 – I like to put the mugs in the freezer when they are done pressing. It helps them cool faster, and it always seems to give an easier peel. Now I have already lifted up the heat tape a little bit to help me out, but I am going to carefully remove this transfer by kind of just rolling it back on itself.
#5 – Now I’m going to use a little bit of our Hard Surface Cleaner and this will remove the haze that was left behind from the polymer on the transfer paper.
#6 – The final step is to place these mugs directly in your oven on 375 degrees for about a minute and 30 seconds, then these mugs are complete and they’re ready to be sold.
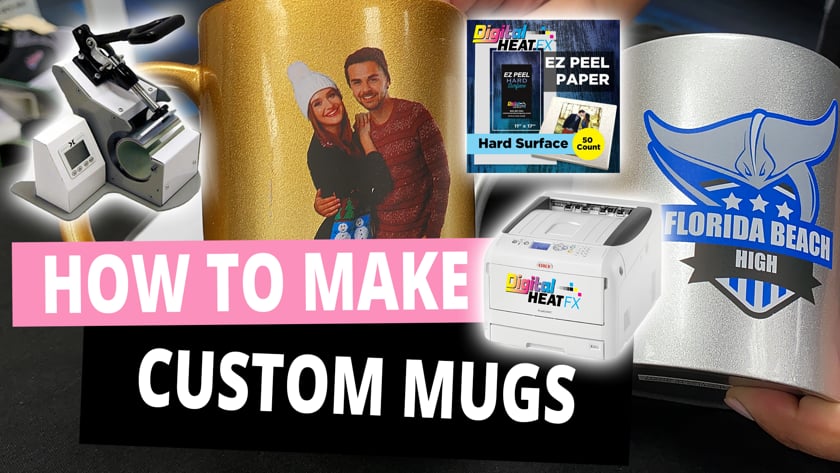
Now these designs are two great examples of the kind of mugs that your customers are looking for. Portrait mugs, like this couple, are great for holiday gifts and special events like anniversaries. The silver mug with the Stingrays logo would be perfect to sell to local schools or sports teams and they would probably buy these in bulk.
Live chat one of our pros NOW to learn more about making custom mugs!


