Let’s face it, many of us have experienced those bad hair days. So, what do we do? We throw on a hat and walk out the door. Now, think about how many other people do the same.
Knowing this, picture yourself running a successful hat business you’ve built from the ground up all in the comfort of your own home. You can become your own boss and make more money on your side hustle than your regular day to day job.
Hats will NEVER go out of style and we want to help kickstart that business idea you’ve been thinking about.
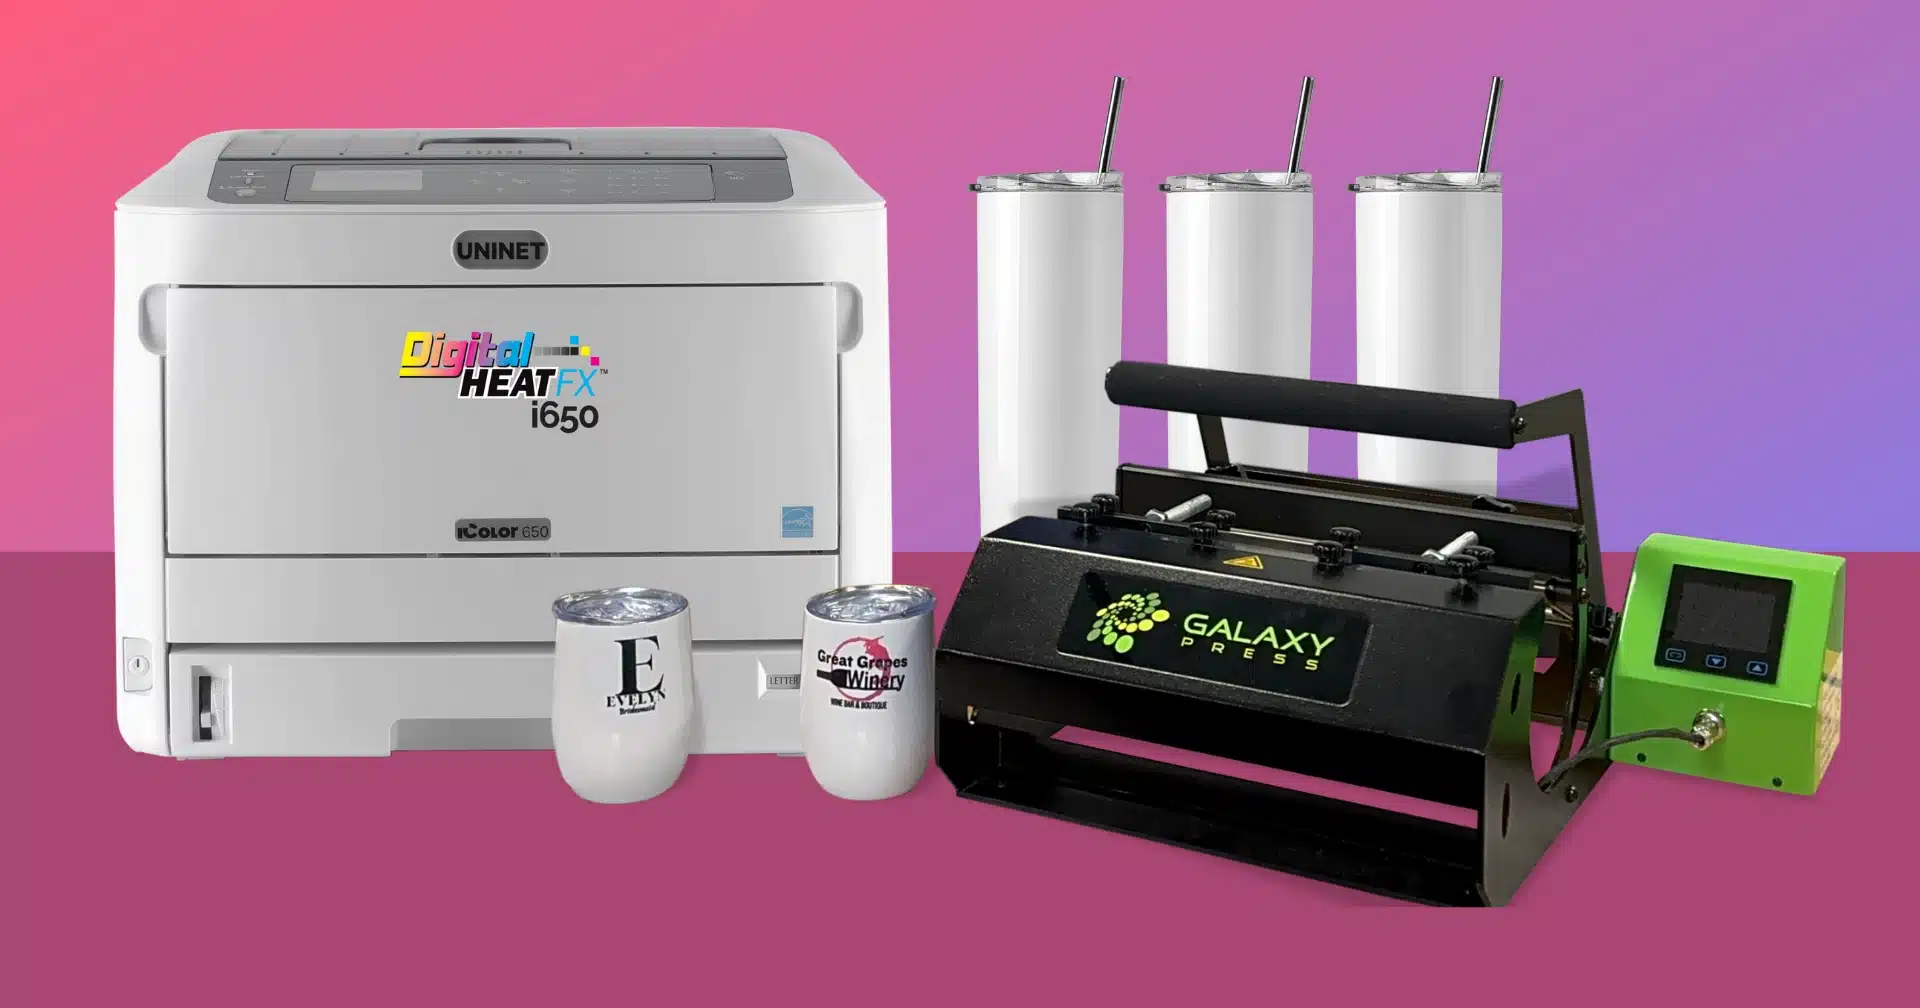
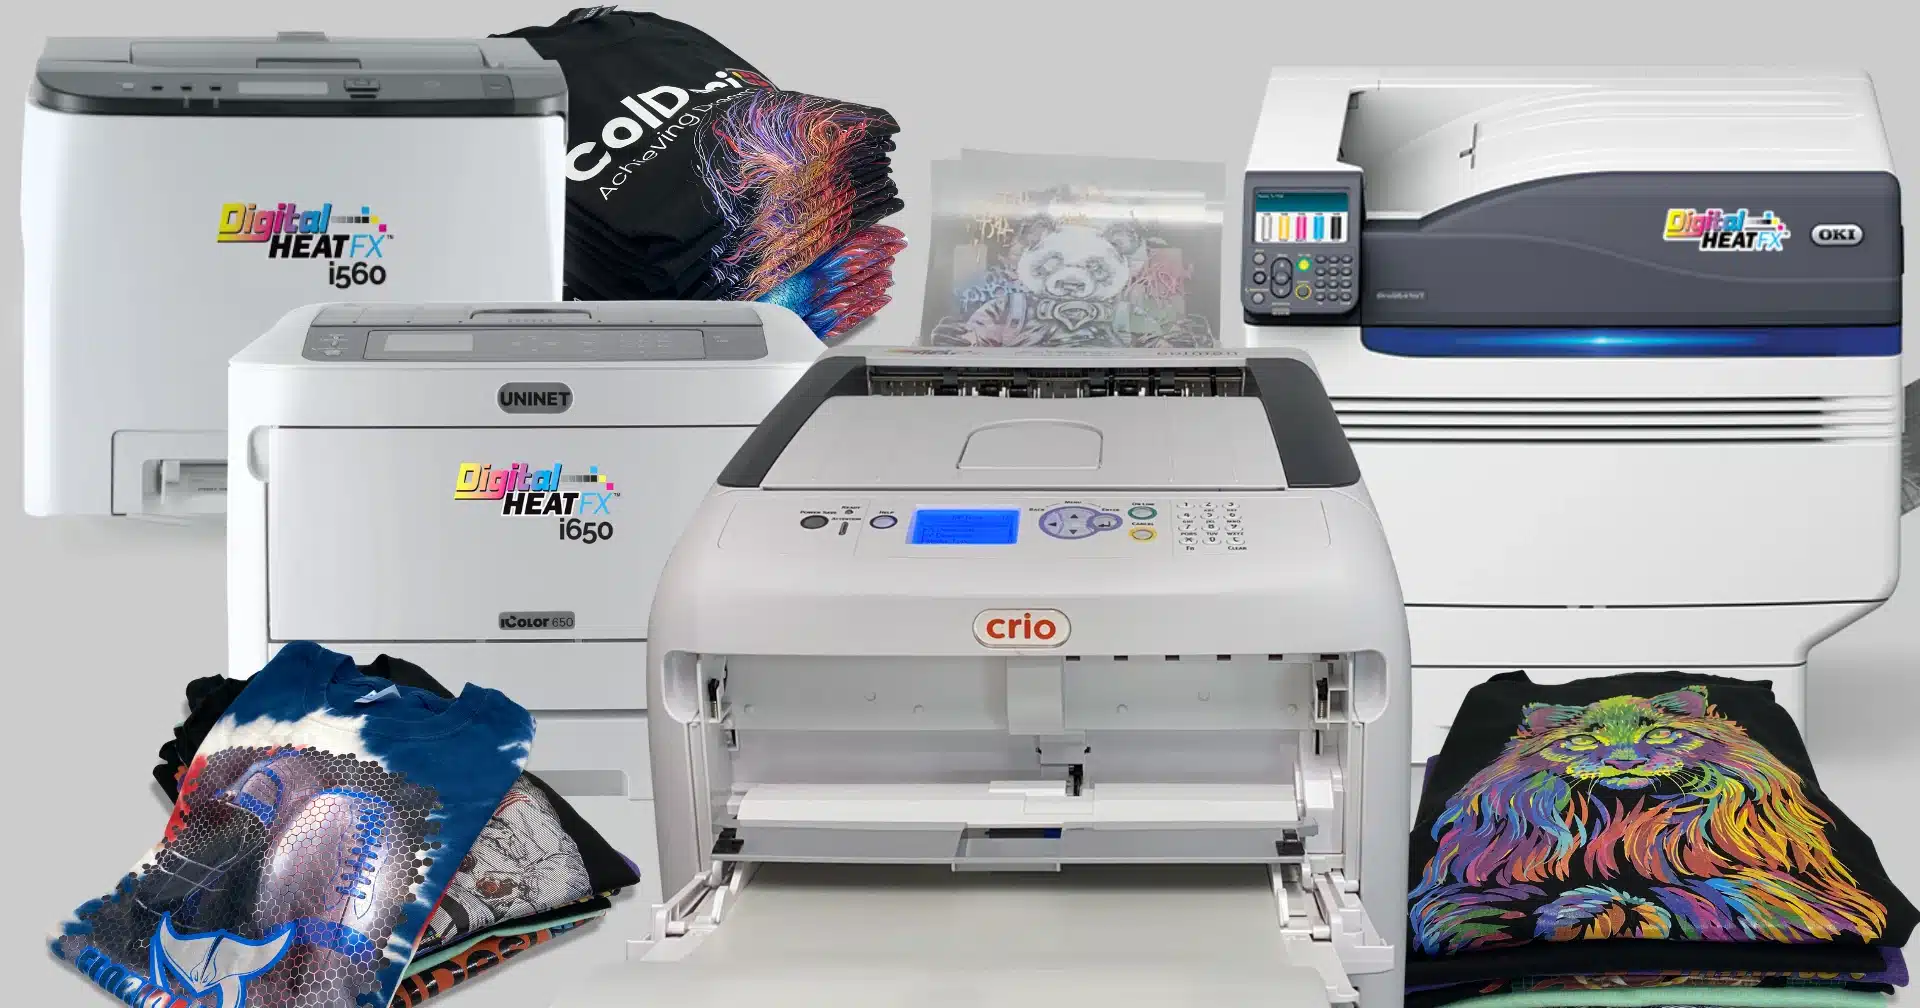
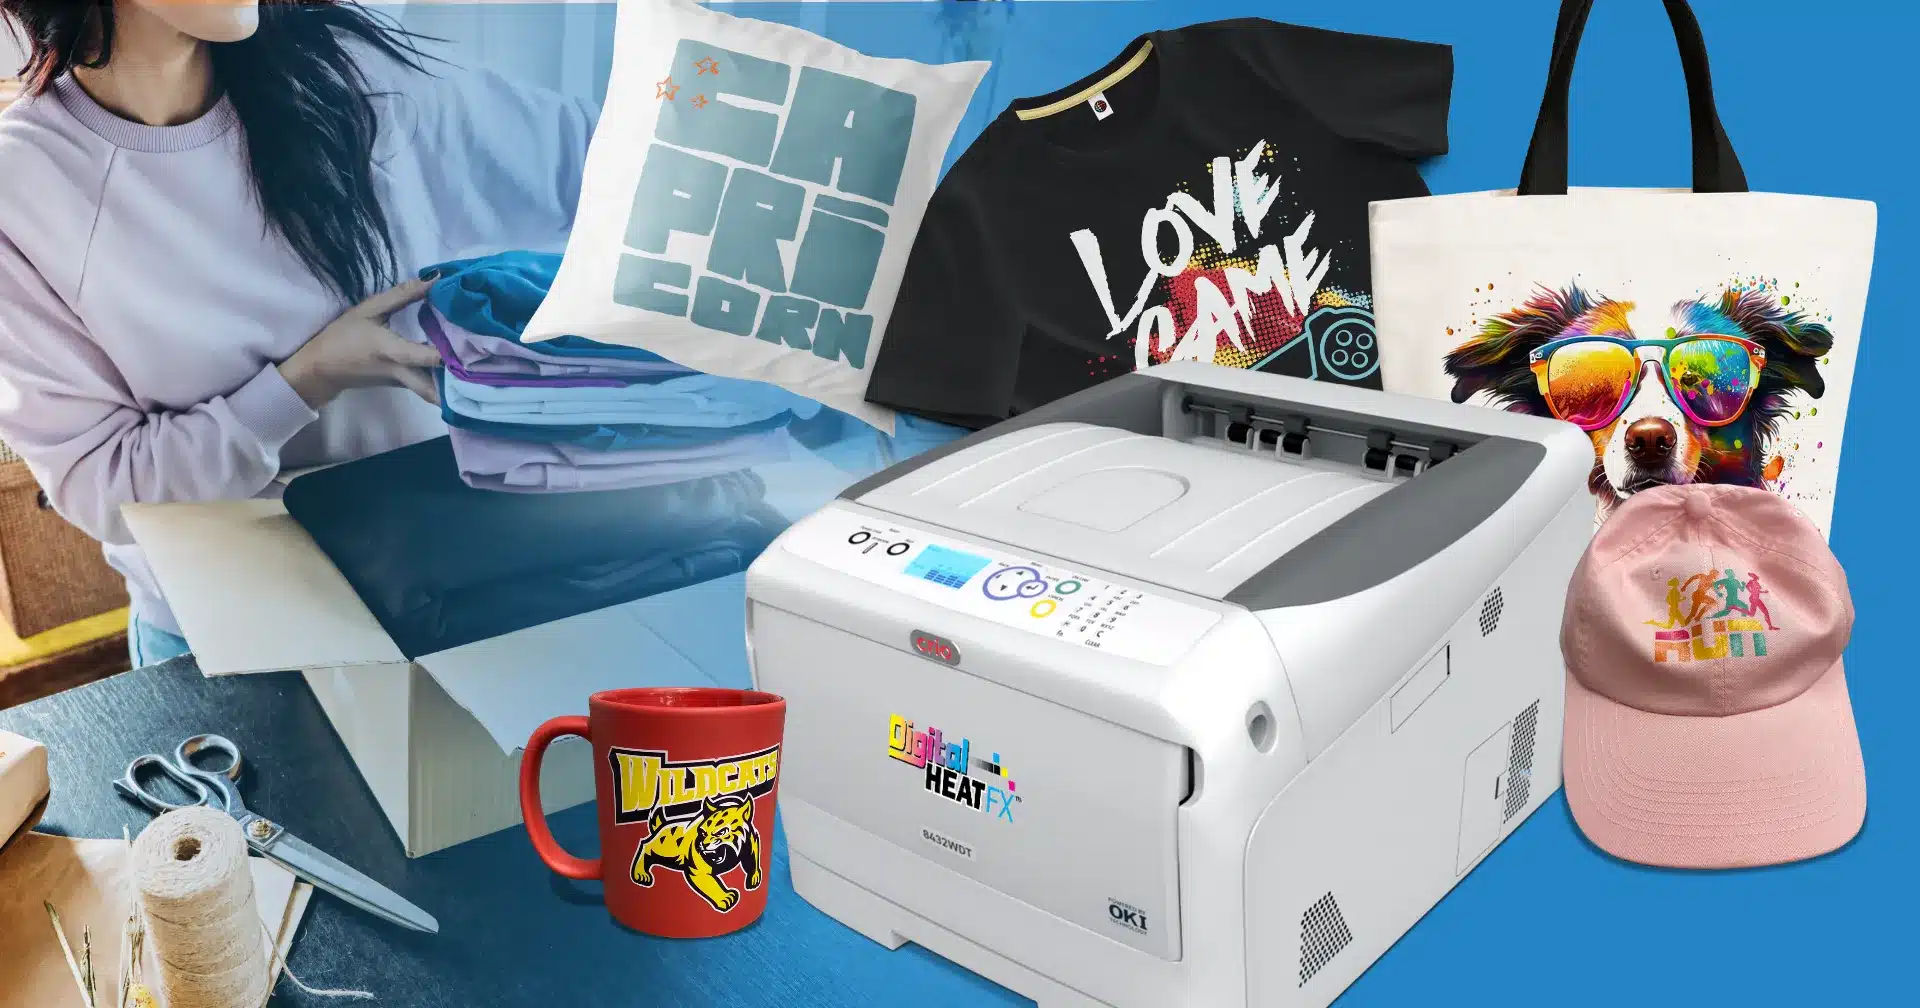
A great way to start creating custom hats at home is by investing in a DigitalHeat FX system. These bundles come fully equipped with a white toner transfer printer, EZ peel transfer paper, and FREE the training you’ll need to get you to pro status. In addition, you’ll just need a heat press of your choice.
Don’t worry, we’ll be covering any questions you might have along the way. Once you get a hang of the process, you’ll be creating custom hats in no time! So, let’s start with the basics…
What is white toner transfer printing?
White toner transfer printing uses white toner along with other colors to print full color graphics and images to light and dark colored materials. The white toner is what allows you to print on dark colored items.
Since liquid ink is not involved, this system prints designs within seconds without the need for daily maintenance. Who else loves the sound of that? Plus, these systems are the size of a desktop printer and can fit anywhere in your home or office space.
What kinds of hats can I print on?
These versatile machines allow you to customize fitted caps, beanies, trucker hats, visors, and even head bands of any color and material!
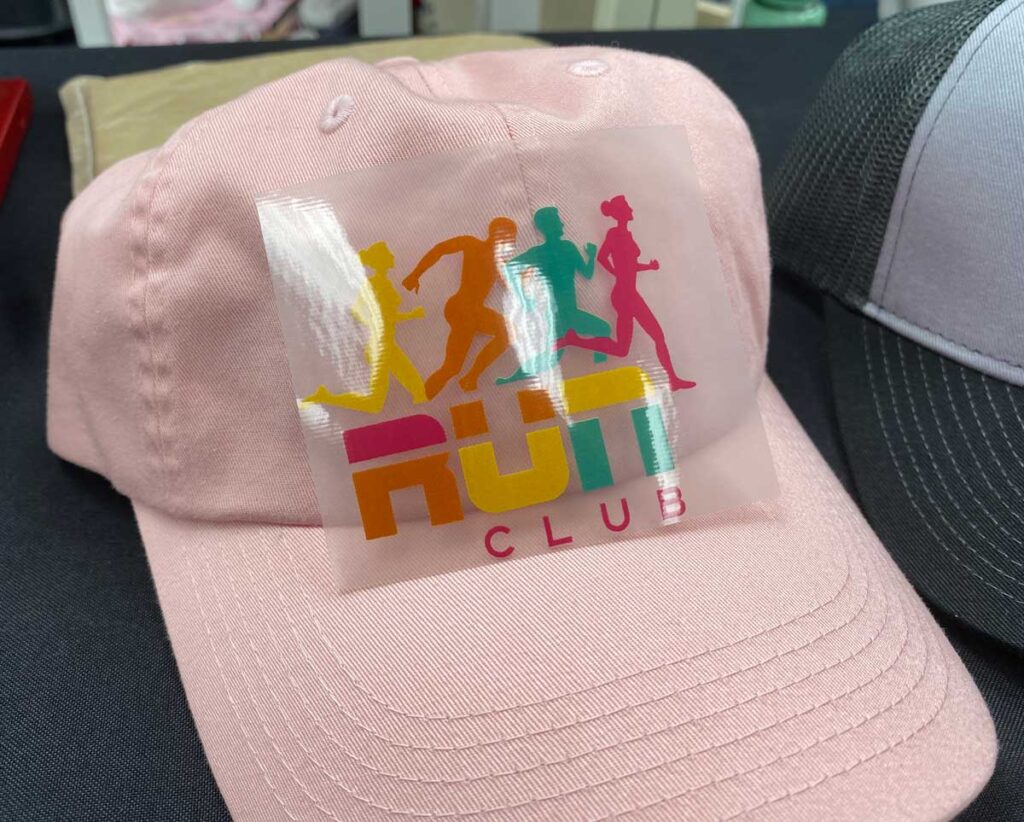
Once you choose a hat style, your next step is choosing a graphic, whether it’s a custom-made design or downloaded online. With the DigitalHeat FX printer, you can use any full color graphic, logo, or picture.
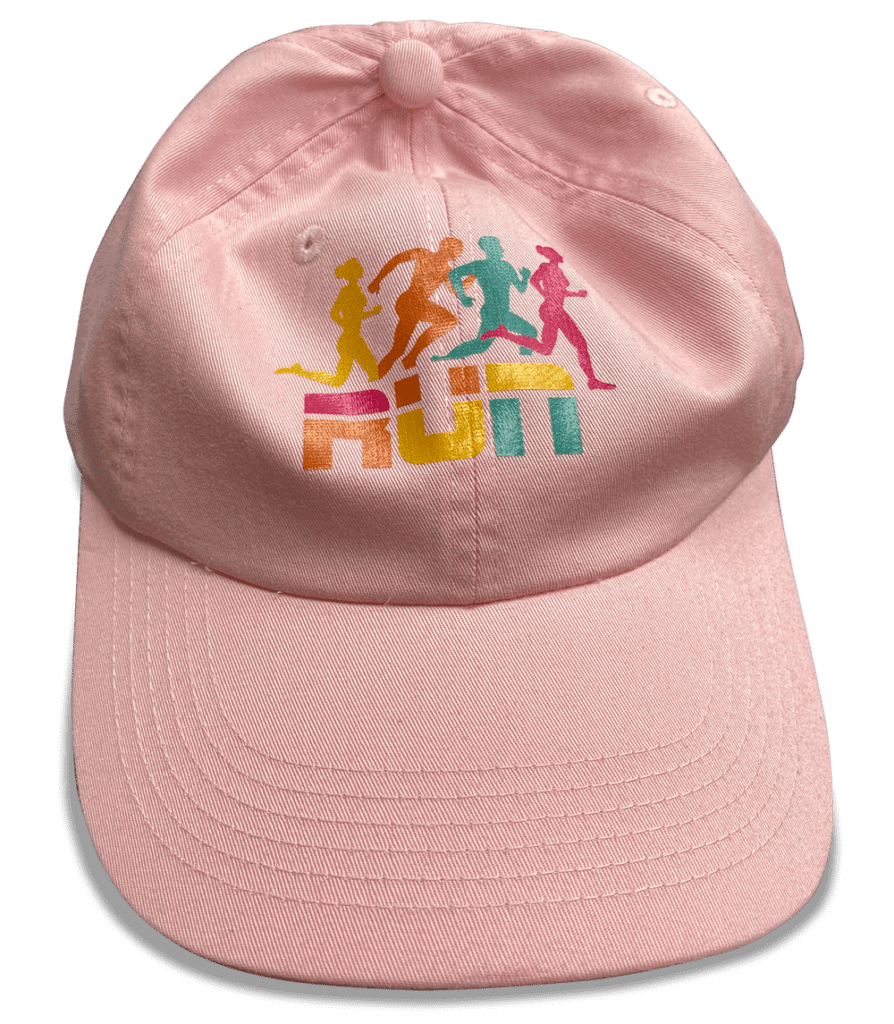
Here are some design ideas for inspiration
- Sports teams
- Business Logos
- Funny Phrases
- Events
- Holidays
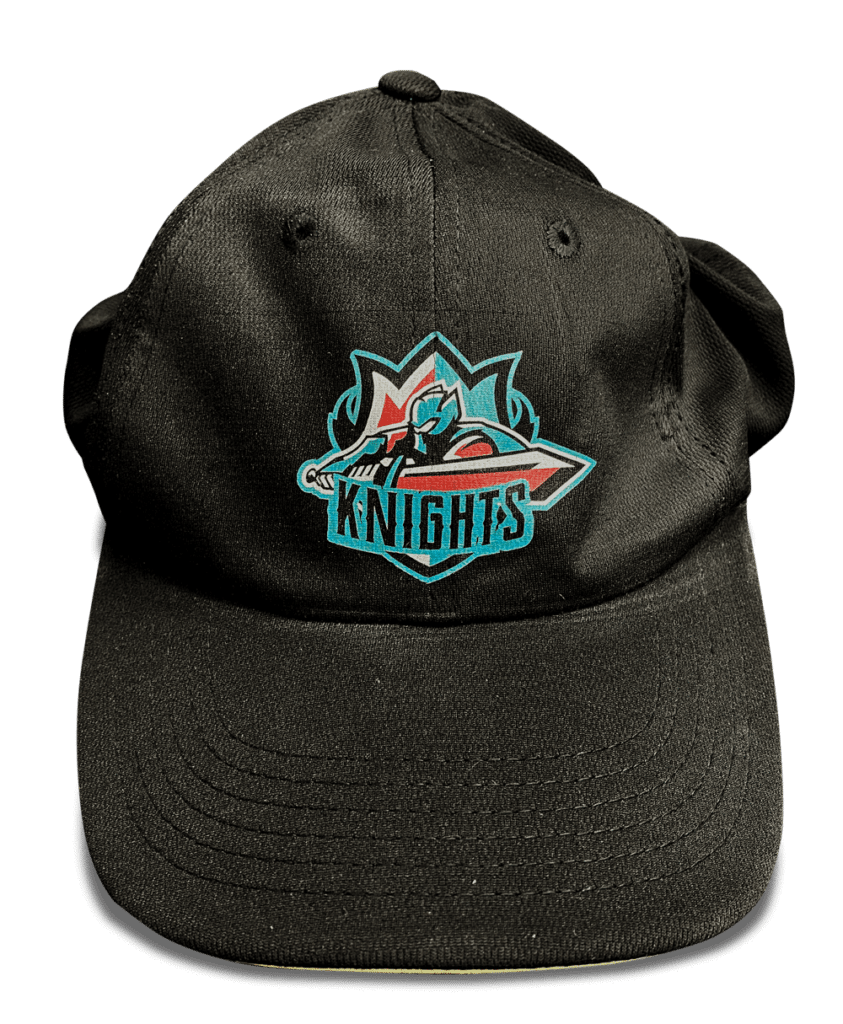
What equipment and supplies do I need to print on hats using DigitalHeat FX?
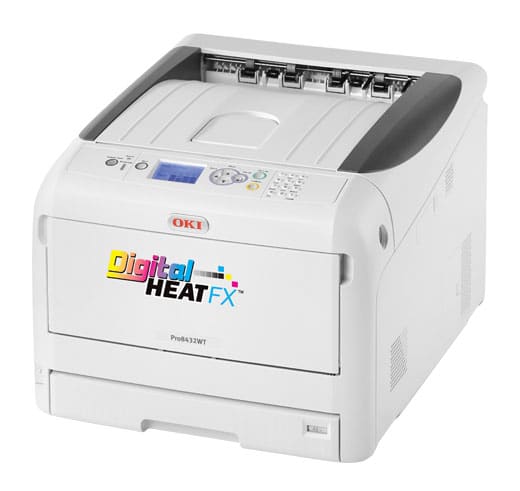
- A white toner transfer printer like the DigitalHeat FX OKI 8432
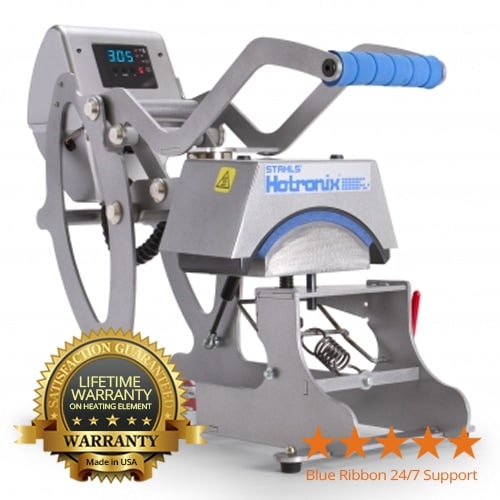
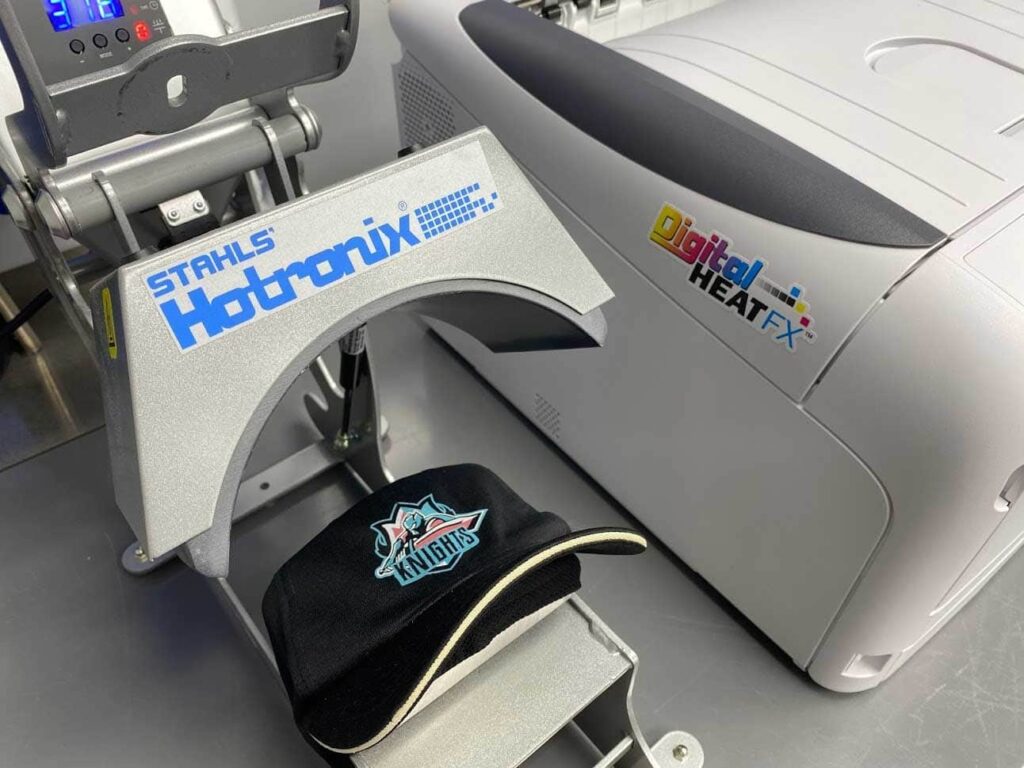
Cap/Hat press or any heat press with cap platen attachments
The DigitalHeat FX printers give you the ability to print anywhere. In this case, you can print on any part of the hat like the brim, top, or bottom.
Depending on the size of your design, you may be able to print over a dozen at a time, therefore maximizing your time and increasing productivity.
What are the steps to printing on a hat using DigitalHeat FX?
1. Choose your art (Picture, text, graphic, logo, etc)
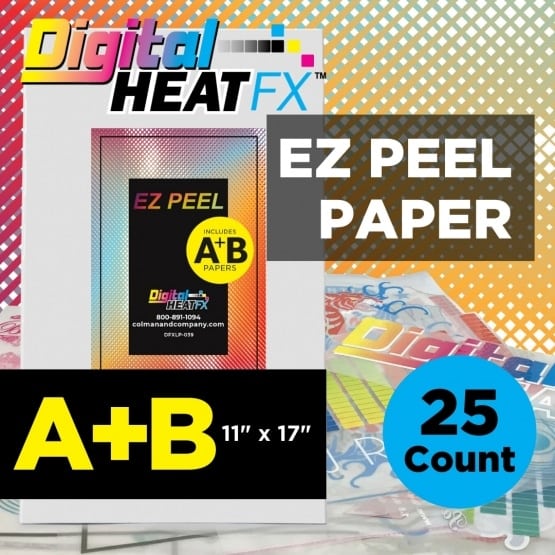
2. Print your graphic using EZ Peel Transfer Paper
3. Use a second sheet to apply the polymer to your transfer with a heat press machine
4. Position your hat and graphic under a heat press
5. Heat press for about 30 secs (may vary depending on hat materials)
6. Let cool & remove transfer sheet
7. Cover your hat with a flexible finishing sheet and give a final press for 30 secs
Altogether, this 5–10-minute method is quicker than embroidering and heat transfer vinyl, eliminating having to weed or cut every color of vinyl. It gives hats a clean finished look with ultimately no feel to the finished product.
What are the benefits of using DigitalHeat FX to customize hats?
- Increased production rate= more $$$
- Ability to apply transfers to any color on any fabric
- Quick process
- No color restrictions
- No ink = NO MESS!
- No maintenance
- Self-weeding
- Soft touch to finished product
With the right training and high-quality equipment, you’re on your way from employee to entrepreneur.
