Customized Packaging
Customized packaging provides businesses with the unique opportunity to stand out, get noticed, and build their brand. Whether a product is acquired online or in-store, packaging is often the first thing the customer sees and can leave a lasting impression. Custom special occasion packaging is a great way to show how much you care.
Why Customize A Cardboard Box?
Unique appealing customized packaging helps a business stand-out from its competitors, leads to brand recognition, and can create a lasting impression on consumers who will want to share their experience. This creates brand ambassadors who increase a company’s exposure.
- Increase Brand Exposure
- Advertise Products
- Promote Excitement
- Customized Company Boxes
- Branded Business Thank You Boxes
- Company Swag Boxes
- Logoed Monthly Subscription Boxes
- Business Press Pack
- Custom Product Sample Boxes
Customized packaging is not just limited to the retail sector, it can also play an important role in any special event. Customized boxes are ideal for all kinds of events and special occasions. Transforming a regular cardboard box into a customized package creates a level of excitement.
- Personized Special Occasion Boxes
- Custom Gift Boxes
- Customized Holiday Boxes
- Personalized Birthday Boxes
- Unique Event Invitation
- Customizable Bridesmaid Ask Boxes
- Wedding Attendee Thank You Boxes
Customized cardboard boxes have a significant marketing impact and provide a unique way to express the right amount of sentiment for any occasion.
How To Customize A Cardboard Box
In this tutorial learn how to create customized cardboard boxes using the DigitalHeat FX 9541.
Tools/Equipment/Supplies Used In This Tutorial:
- DigitalHeat FX 9541
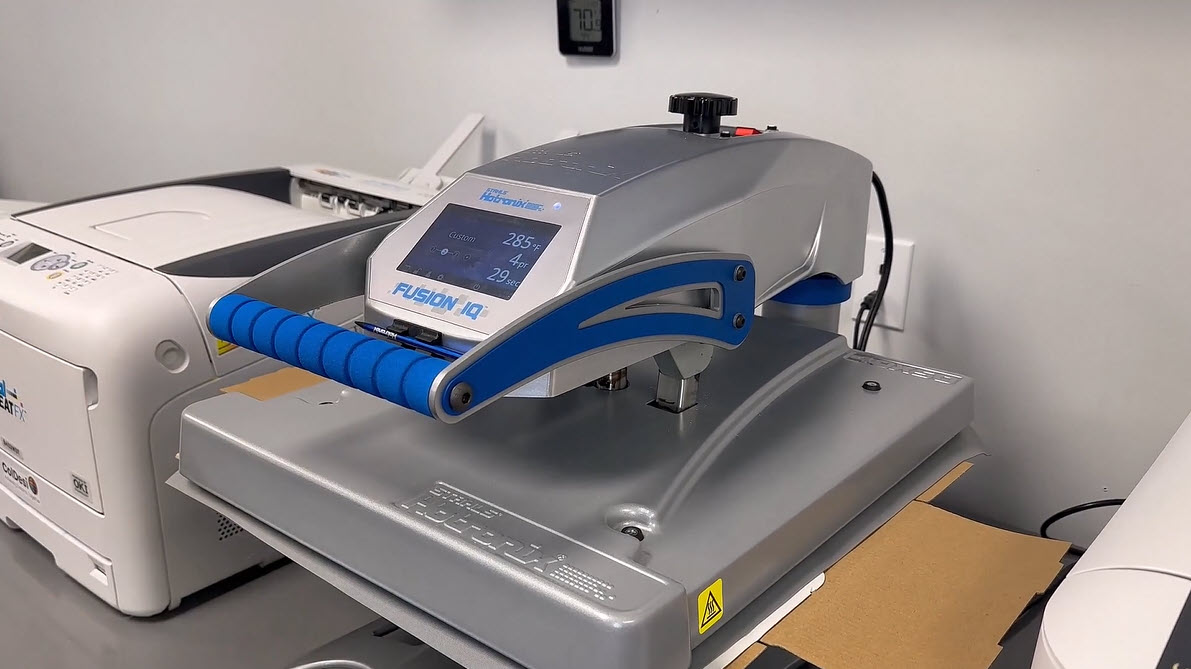
- Hotronix Fusion-IQ Heat Press
- DigitalHeat FX Laser EZ Peel Hard Surface Paper
- Flexible Finishing Sheet
- Heat Tape
- Scissors
- Measuring Tape
- Blank Cardboard Box
Step-By-Step Tutorial:
Step 1. Measuring For Design – Assemble the cardboard box. Mark each panel with a label and direction (Example: Left Side-Top). These references will come in handy when the box has been disassembled and the design transfers are being placed. Measure each panel to find the design space available.

Step 2. Print The Design Transfer – Once the designs have been created and imported into the printer software, load the printer with EZ Peel Hard Surface Paper. Print the design transfer.

Step 3. Preparing The Design Transfer – Remove the transfer from the printer. Using scissors trim the transfer close to the design. Once trimmed, gently fold the transfer in half. Pinch the transfer at the top and bottom fold. This will create a small crease that will indicate the design transfer’s center.

Step 4. Preparing The Box for Customization – Dismantle the cardboard box. Referencing the marked panels, lay the transfers, design side down, and secure in place using heat resistant tape.

Step 5. Heat Pressing The Cardboard Box – For more stability when pressing, double up the carboard under each design transfer, by folding the box panels. Place the cardboard box in the Hotronix Fusion IQ Heat Press and cover it with the flexible finishing sheet. Heat press at 285 degrees for 30 seconds using high pressure.

Step 6. Removing The Transfer Paper – Once the cardboard box has been pressed remove it from the heat press and lay it on a flat surface to cool. Once cooled, remove all transfer paper and heat tape.

Step 7. Finished Customized Cardboard Box – Reassemble the cardboard box to reveal the finished product.


