How To Customize Cardstock Paper With Toner Foil
Types Of Foil
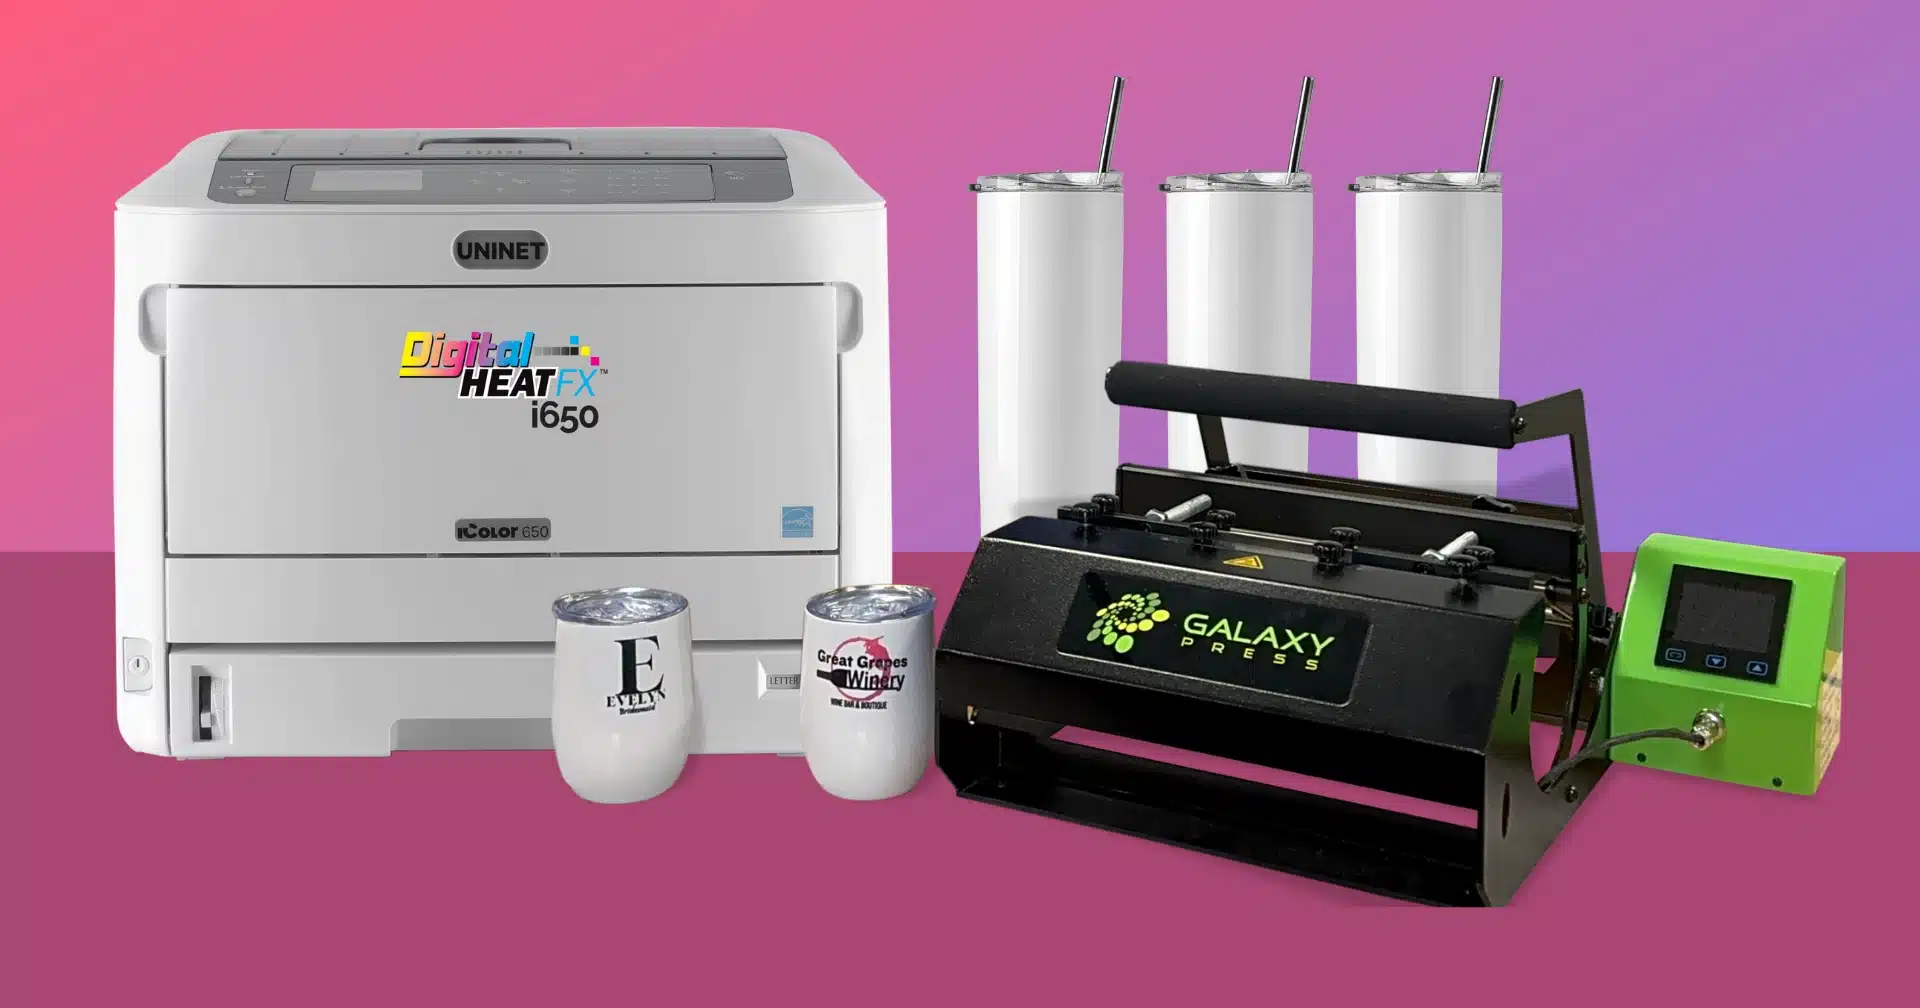
There are two main types of foil, thermal foil also known as hot foil and toner reactive foil commonly known as toner foil. In this tutorial learn the process of applying toner foil to cardstock paper using a Digitalheat FX i560 and a Hotronix Fusion IQ Heat Press.
- Toner Foil
Toner foil or laser foil is a thin plastic film that is specially formulated to adhere to toner once heat and pressure are applied.
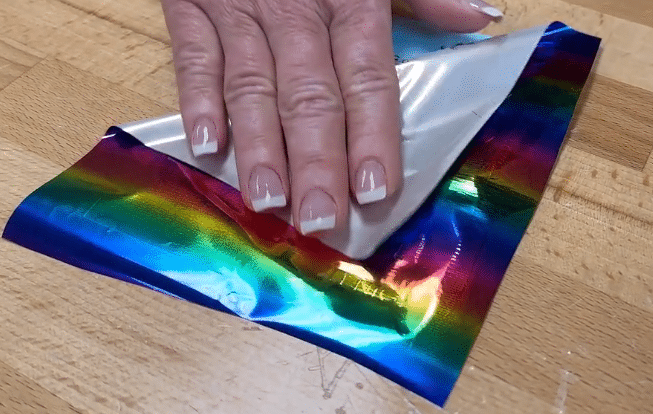
- Hot Foil
What’s The Difference Between Toner Foil And Hot Foil?
The main difference between toner foil and hot foil is adhesive. Toner foil is produced without an adhesive back and requires toner, pressure, and heat for the foil to adhere to the design. Hot foil is produced with a layer of adhesive built in, and requires heat, pressure, and a stamping plate. Both methods use heat for the foil to be applied to the design, only in different ways.
Toner foiling yields a quicker result by applying the foil directly to the toner with no need for customized dies or plates.
What Is Toner Foiling?
What Is Hot Foiling?
How To Tell Toner Foil And Hot Foil Apart?
It’s recommend that original foil packaging be kept, however if the packaging is missing there is a simple way to figure out the difference between hot foil and toner foil.
Start by cutting small squares of the foil. Cut plain cardstock into small squares. Overlay the cut foil onto the plain cardstock. Press the sample at the designated time, temperature, and pressure. After pressing let the pressed cardstock cool. Once cool to the touch remove the foil paper. Peel the foil from the plain cardstock paper, if no foil transfers to the plain cardstock paper it is toner foil. If the foil paper adheres to the plain cardstock paper it is hot foil. Hot foil will stick to the plain cardstock because it has built in adhesive. Toner foil should not stick to plain cardstock.
Why Does Toner Foiling Require A Laser Printer?
Toner foiling requires a laser printer – not an inkjet. A laser printer uses toner not ink. Toner is effectively plastic and when heated it melts slightly becoming an adhesive or glue for the foil to adhere to.
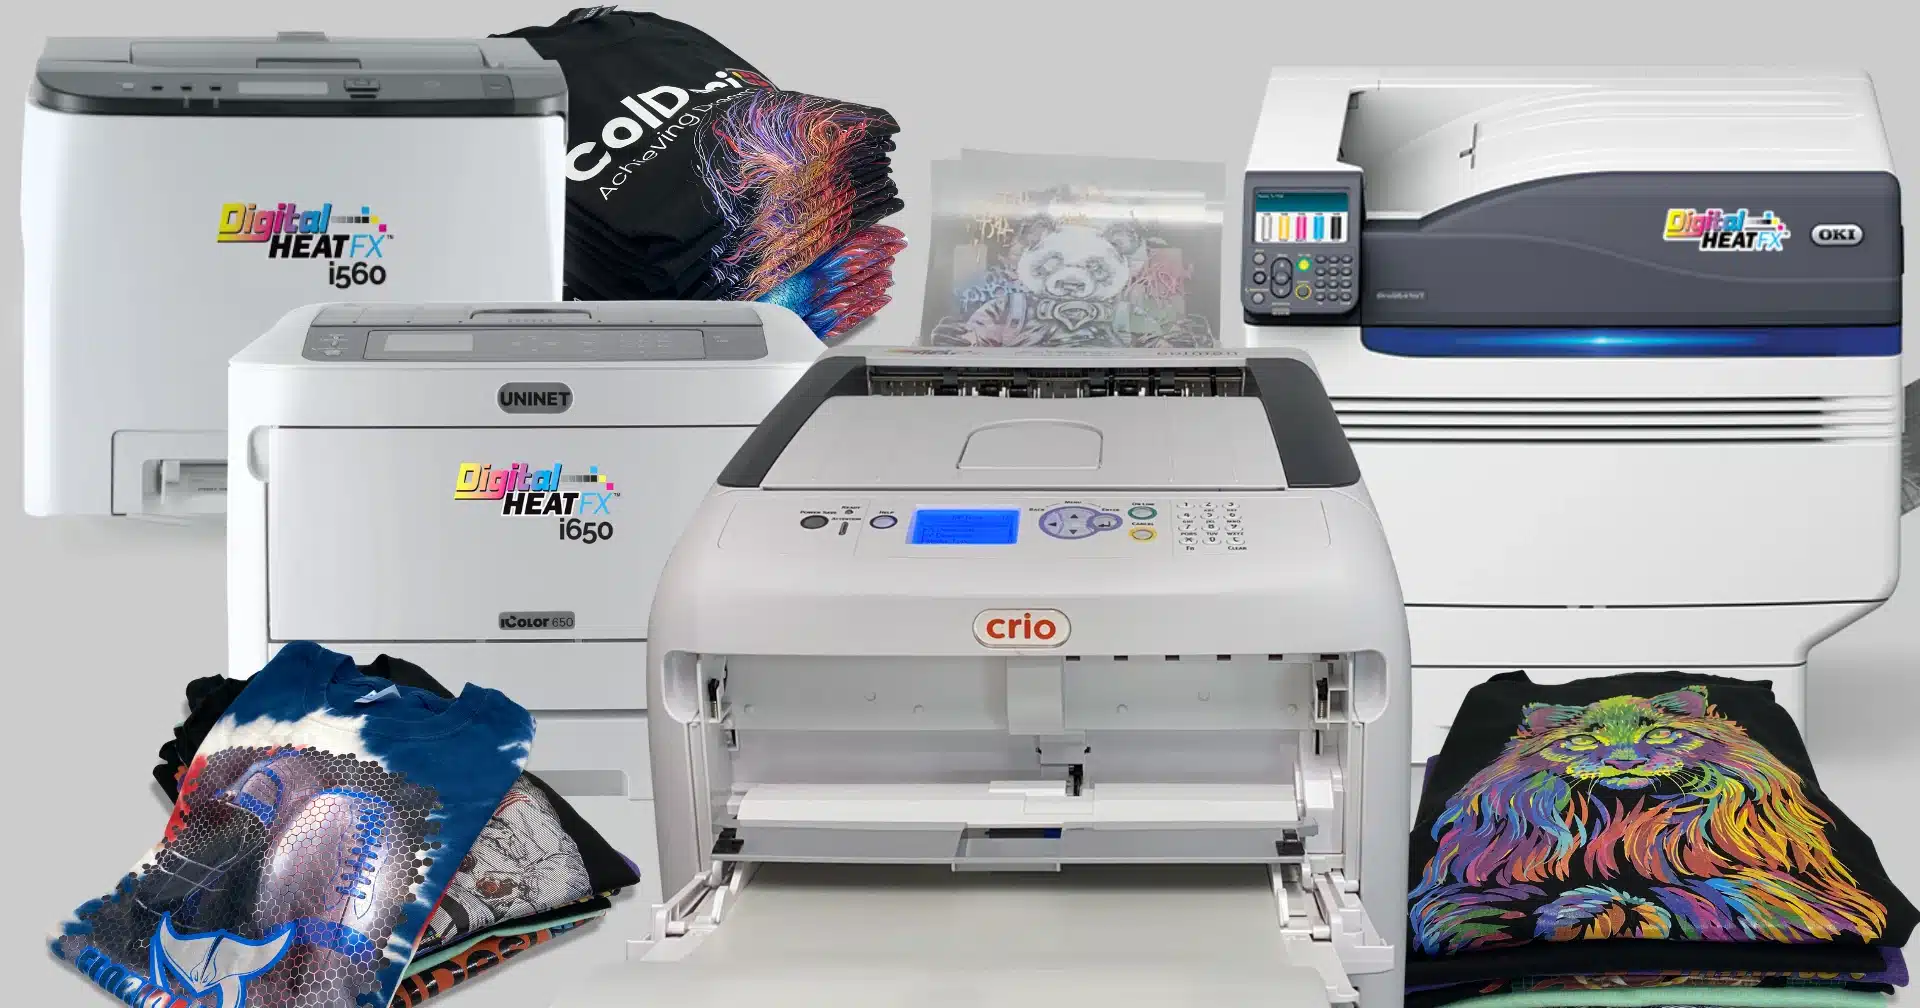
Foiling on cardstock can be done using any of our DFX printers.
Note: if you are using a 9541 or 8432, please turn your white off and if possible, use a deep black CYMK code for best results (the foil will melt to any color toner, but works best with darker colors). Recommended CYMK code – 75, 68, 65, 90.
Does Foiling Only Work With Black Toner?
Toner Foiling On Cardstock Paper
Tools-Equipment-Supplies
Used In This Tutorial:
- DigitalHeat FX i560
- Hotronix Fusion IQ Heat Press
- Cardstock Paper
- Specialty Foil
- Scissors
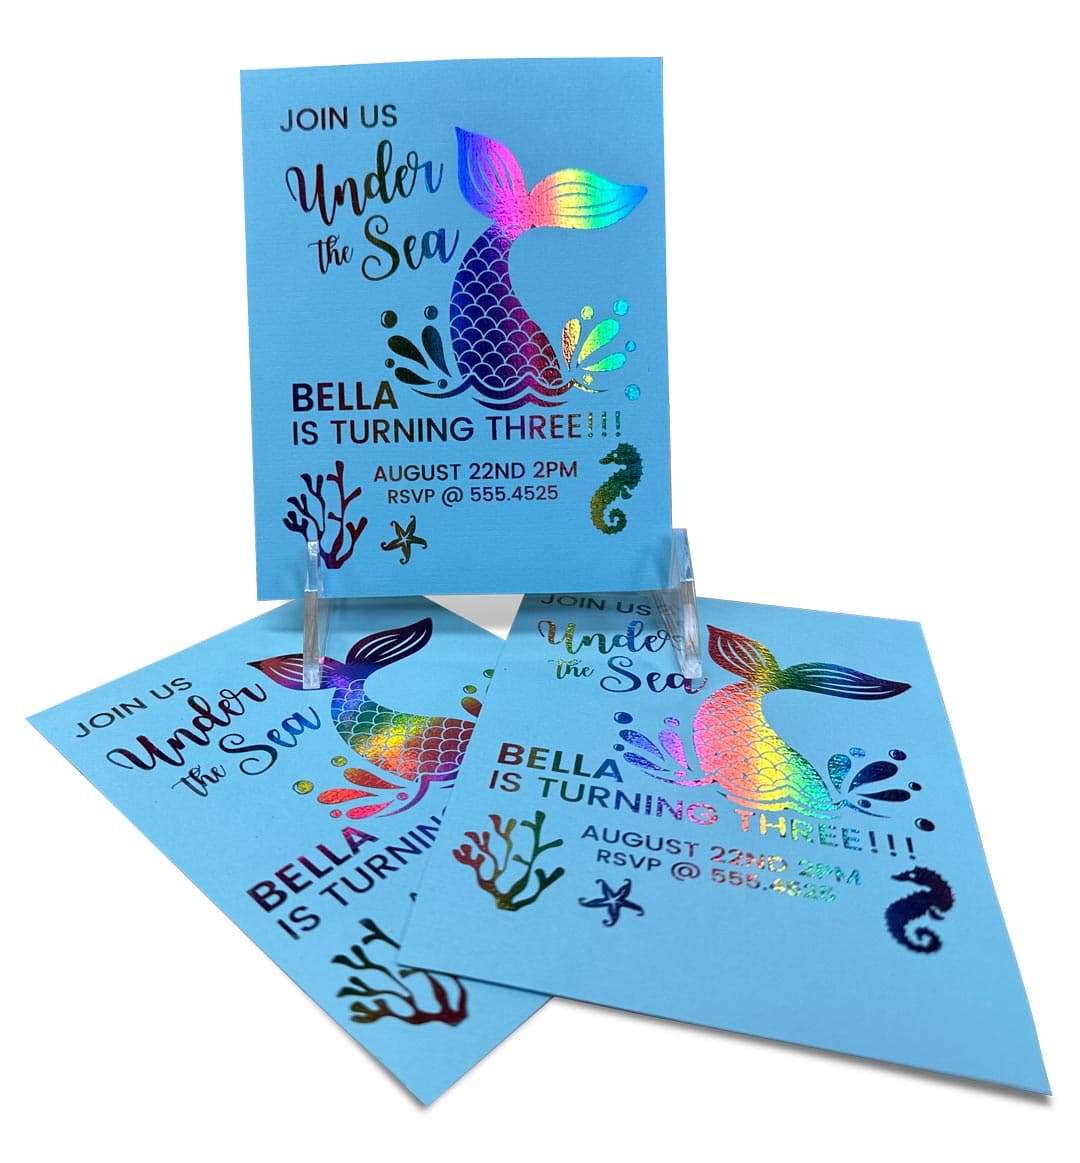
**Step-By-Step Tutorial:
Note: Black toner offers the thickest saturation and will yield the best results.
Note: Use smooth, uncoated cardstock. Coating prevents the toner from allowing the foil to connect properly. Texture prevents the foil from adhering smoothly.
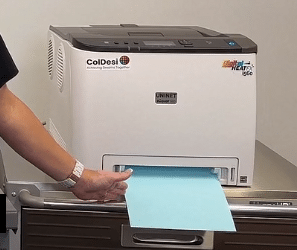
Step 1. Preheat the heat press, setting the temperature to 285 degrees. Load the cardstock paper into the DigitalHeat FX i560 printer.
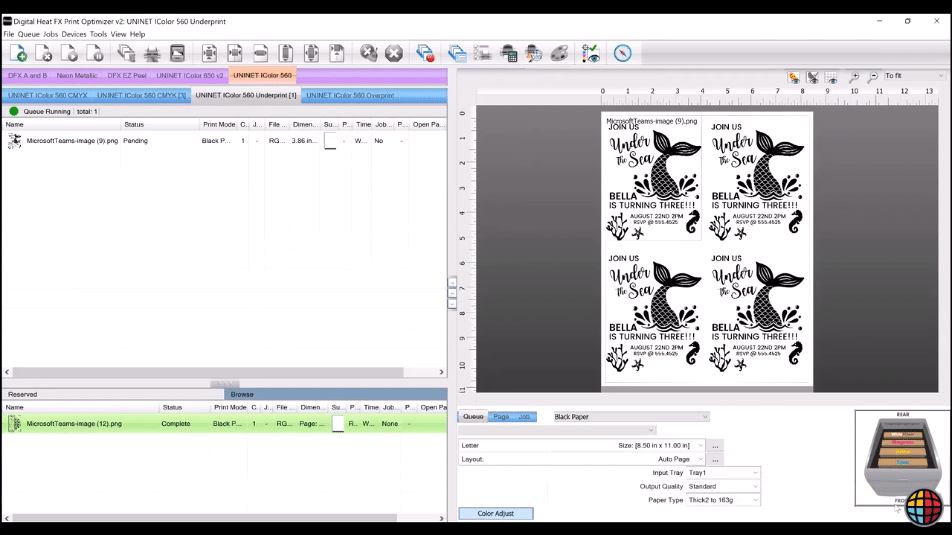
Step 2. Import the design into the Print Optimizer software under the i560 Underprint tab. Select paper type (Black Paper). In color adjust set the saturation to five. Check that the toner placement is in the correct order then print.
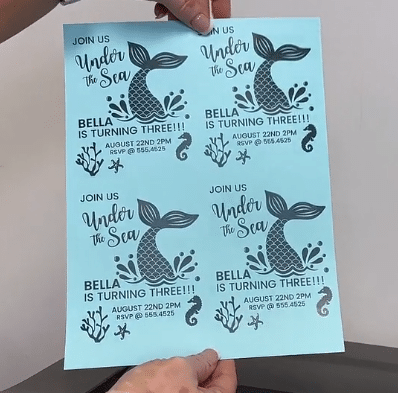
Step 3. After the design has been printed, remove it from the machine. Using a rotary cutter trim the design to its desired shape and size. Using a pair of scissors cut the specialty foil to cover the toner design. Inspect the foil (dull side) to ensure it is smooth and undamaged. Wipe the toner design and foil (dull side) to remove any dust and debris.
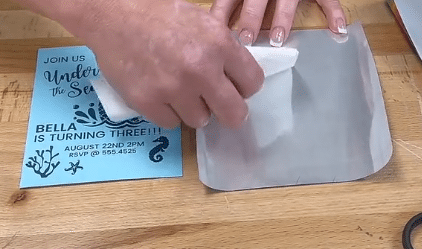
Step 4. Place the cardstock onto the heat press platen, design side up and cover it with the toner foil (dull side down). Press at 285 degrees at a medium pressure for ten seconds.
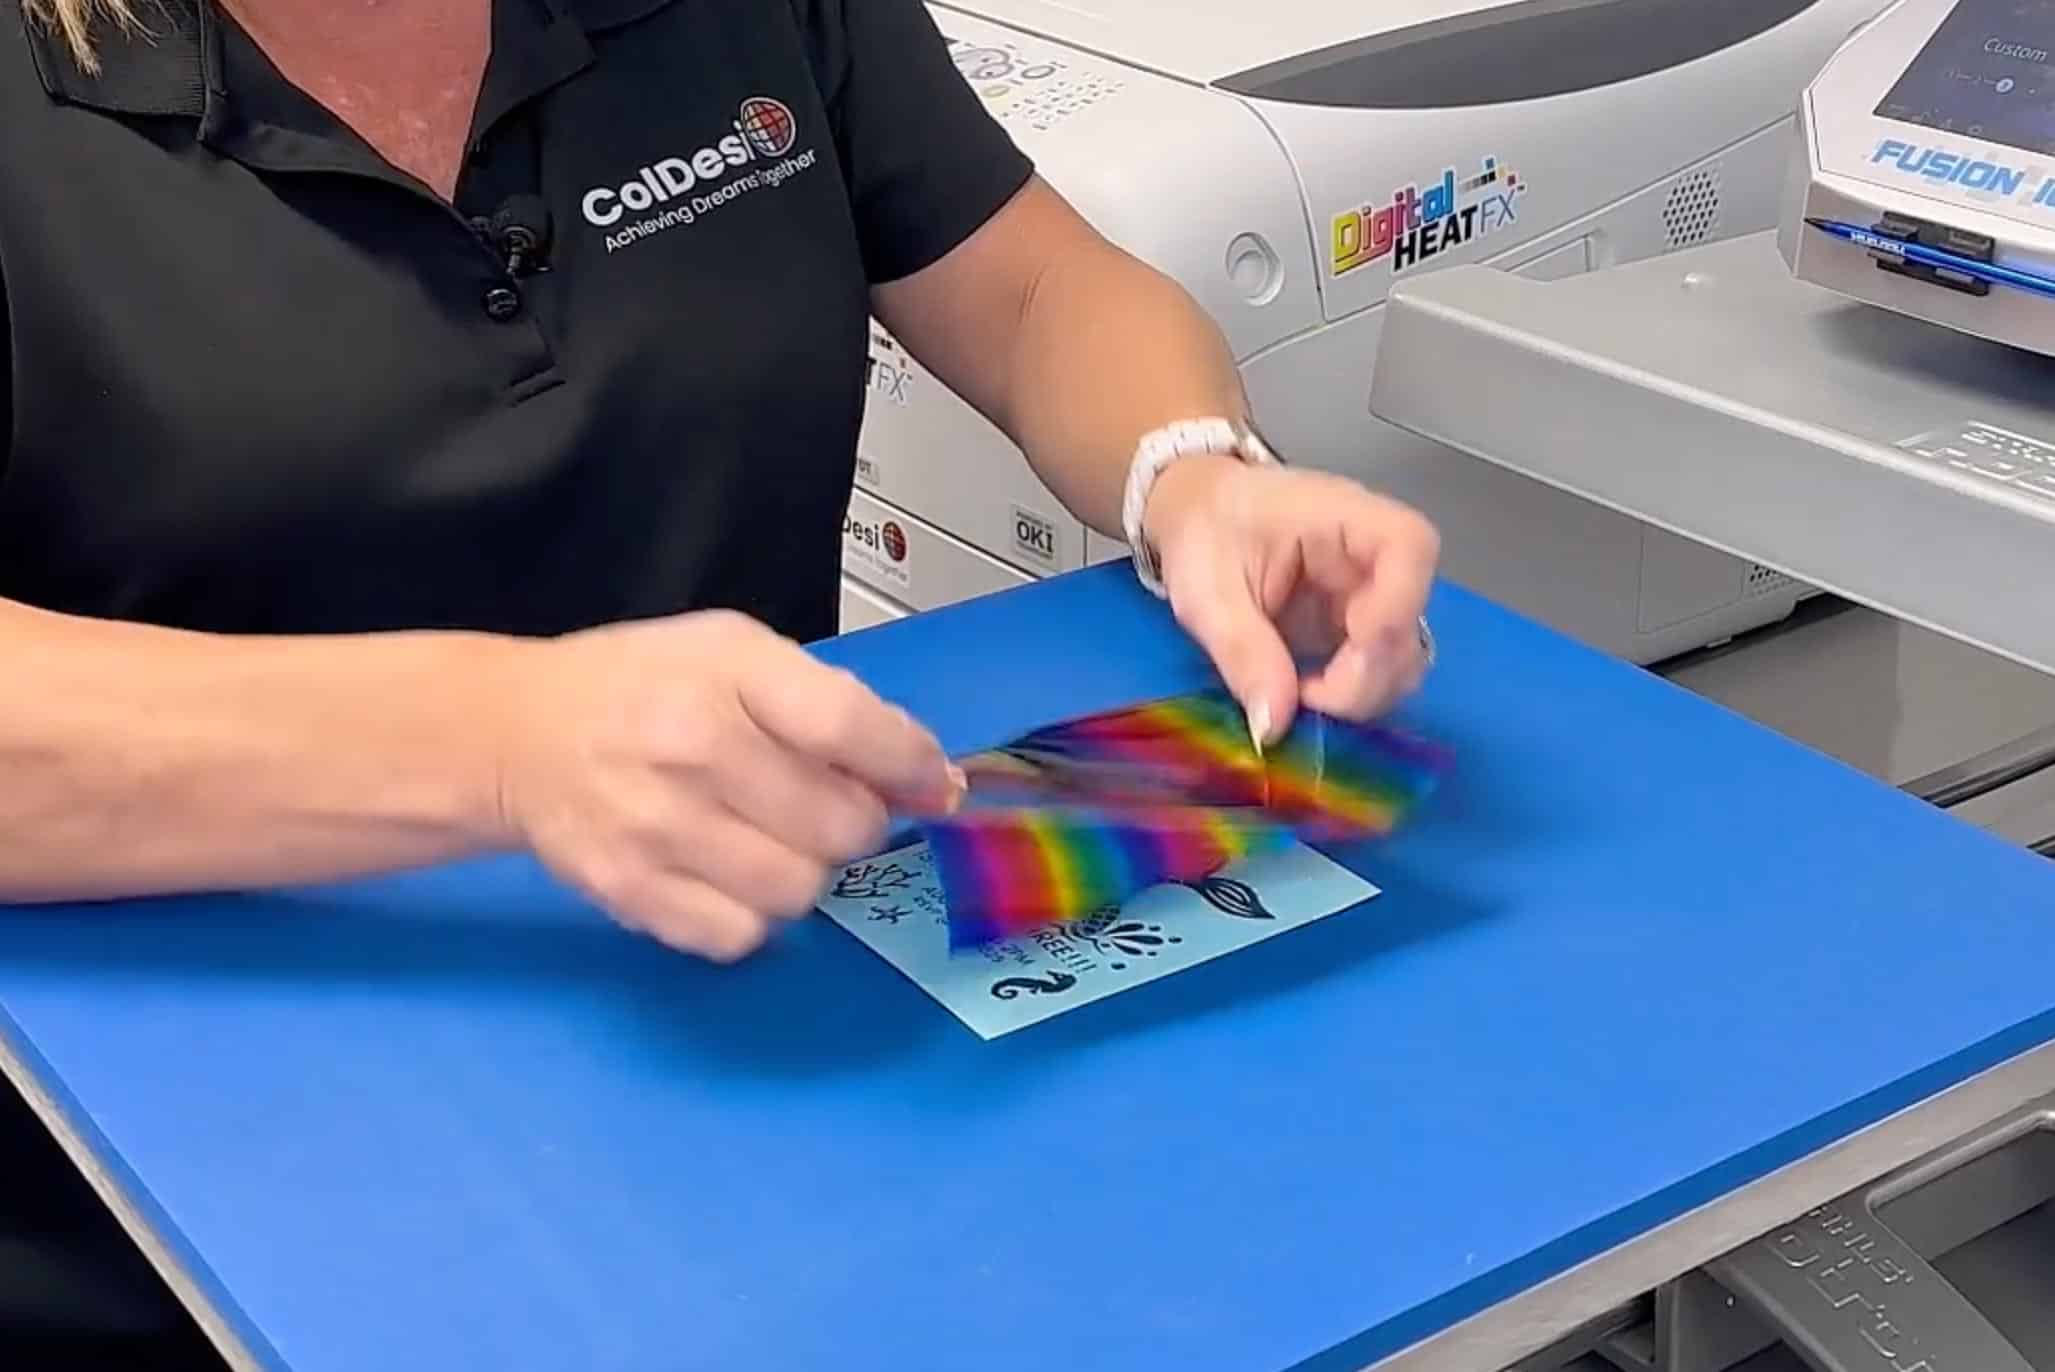
Step 5. Once pressing is complete remove the cardstock from the heat press. Place it on a hard surface to cool. After the cardstock paper is completely cool to the touch peel back the toner foil in a rolling motion to reveal the finished product.
