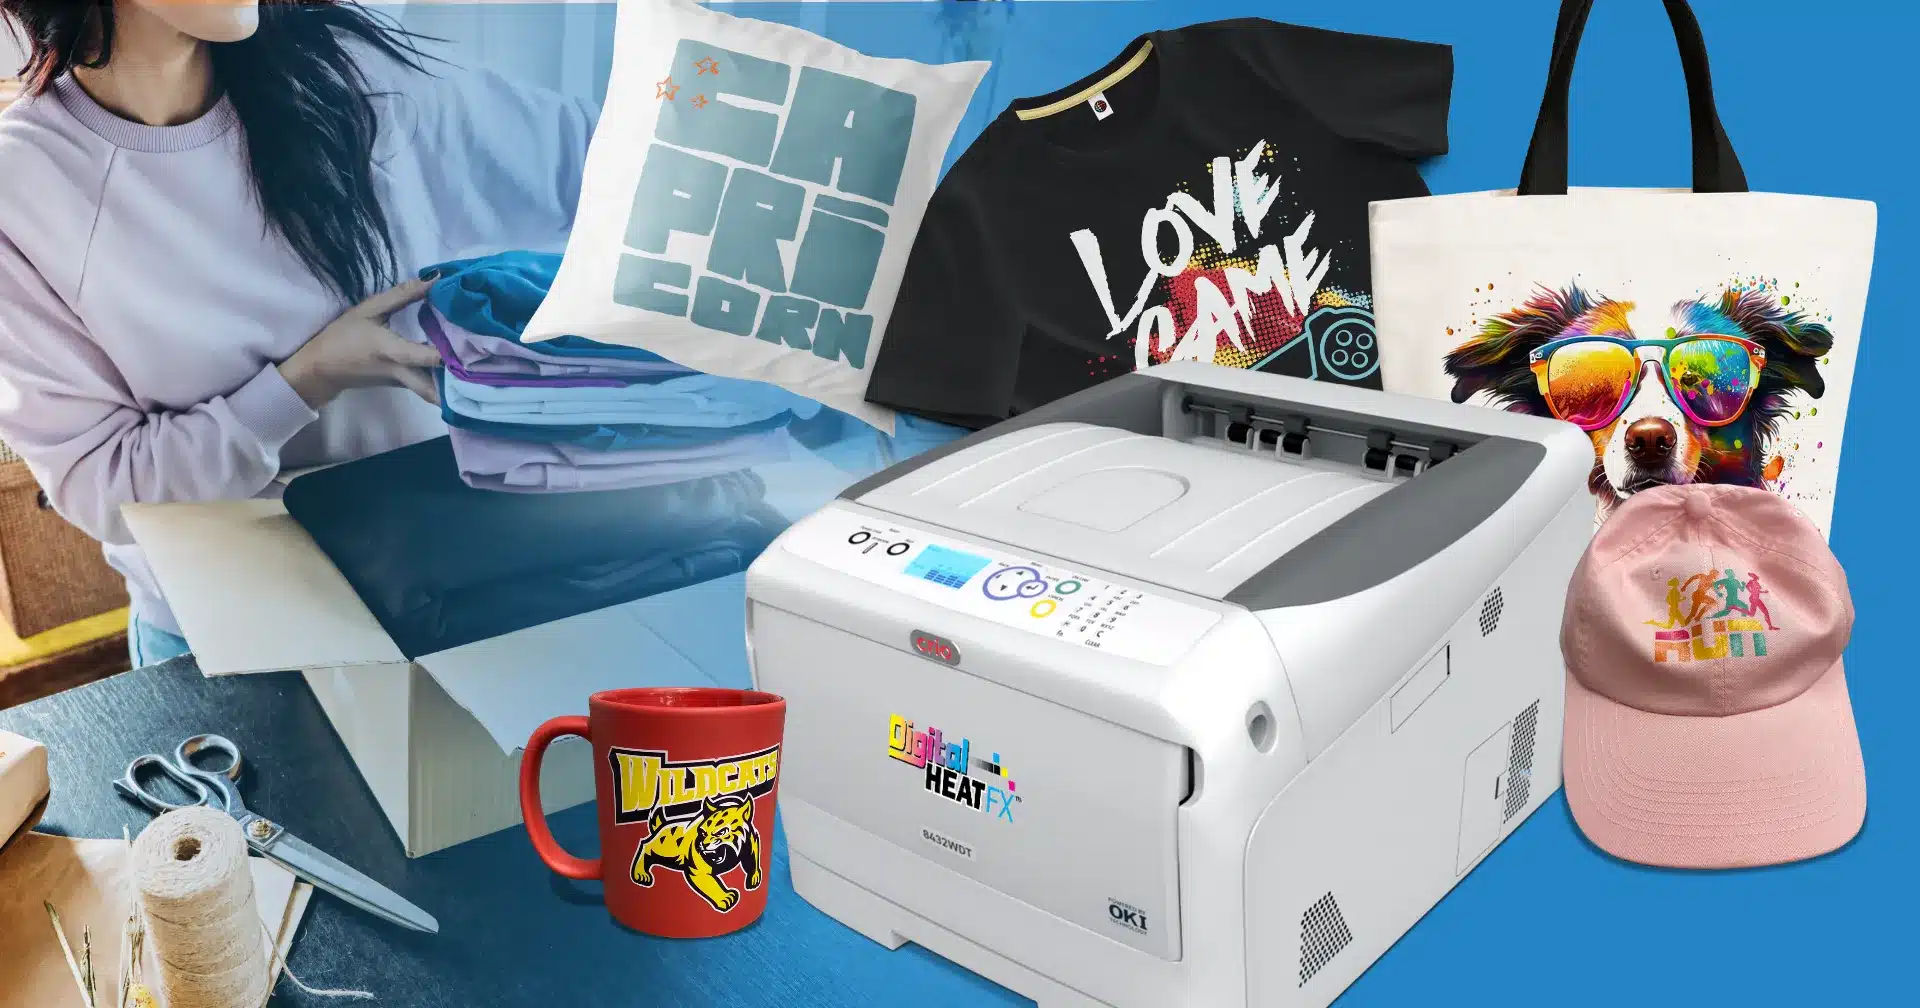
When you think of customizing with white toner transfers, items like t-shirts, hats, and tote bags probably come to mind.
However, with the DigitalHeat FX systems, you can customize so much more!
One of the more recent applications we have worked on is custom Mylar bags. Mylar bags can be used to store things like coffee grounds, candy, herbs, spices, anything that can fit in the size you get.
Printing labels, designs, or graphics that can be placed on these bags is a great way to offer your customers a unique item. Plus, you can bundle these labels with custom t-shirts, mugs, or promotional items for the same customer, doubling your profit.
So, let’s get into the 3 different ways you can customize Mylar bags with the DigitalHeat FX printers.
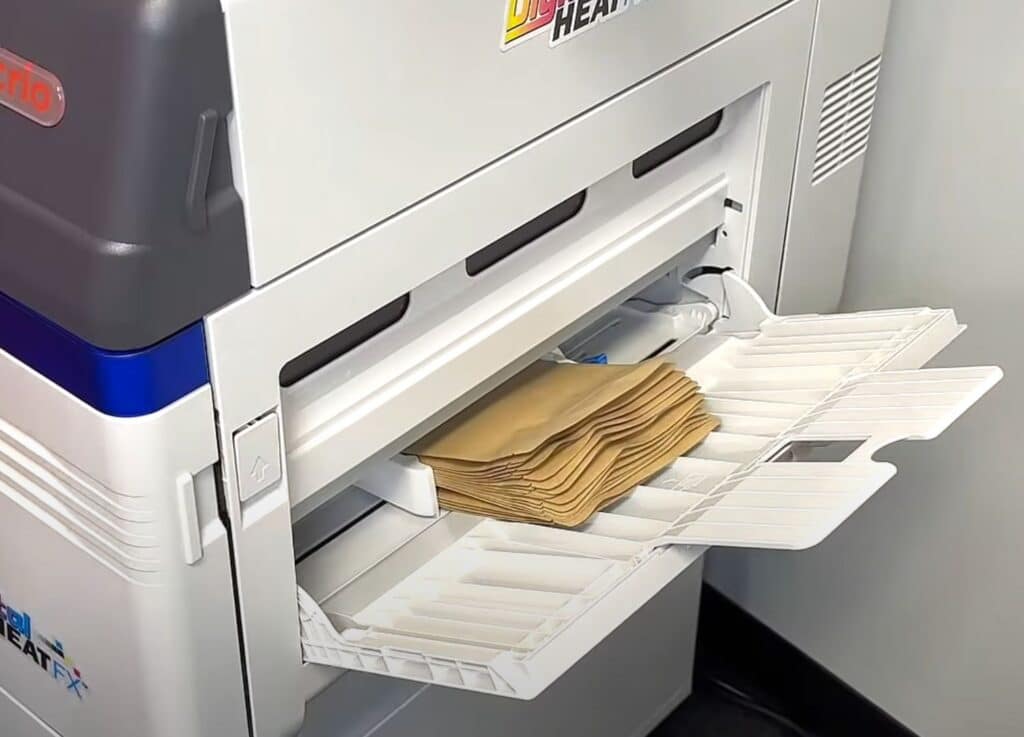
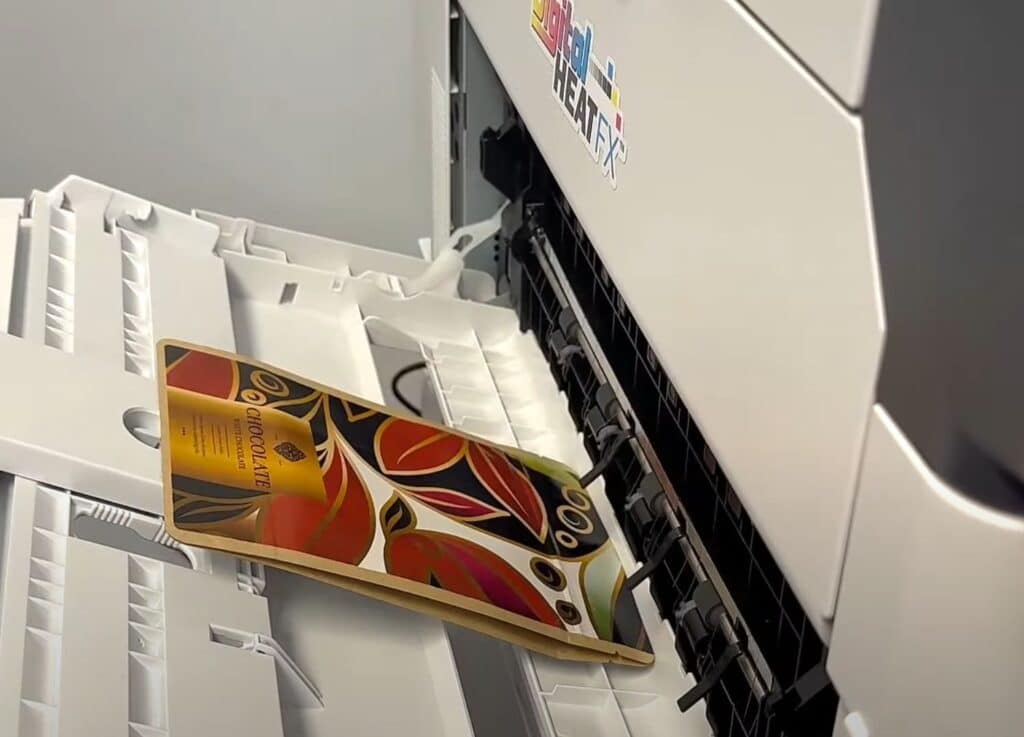
How to Print Directly on Mylar Bags with the DigitalHeat FX 9541 Printer
Step 1: Adjust the printer settings on Print Optimizer Software.
Step 2: Feed the Mylar bags into the tray of the printer.
Step 3: Print!
Out of all three processes, this is the easiest to do because it doesn’t require a ton of steps. Being able to print directly on the bags eliminates the marrying step all together.
Keep in mind that this method can only be done with the DigitalHeat FX 9541 model.
Now let’s move on to the next way you can customize these bags!
How to Print on Mylar Bags with Heat Transfers
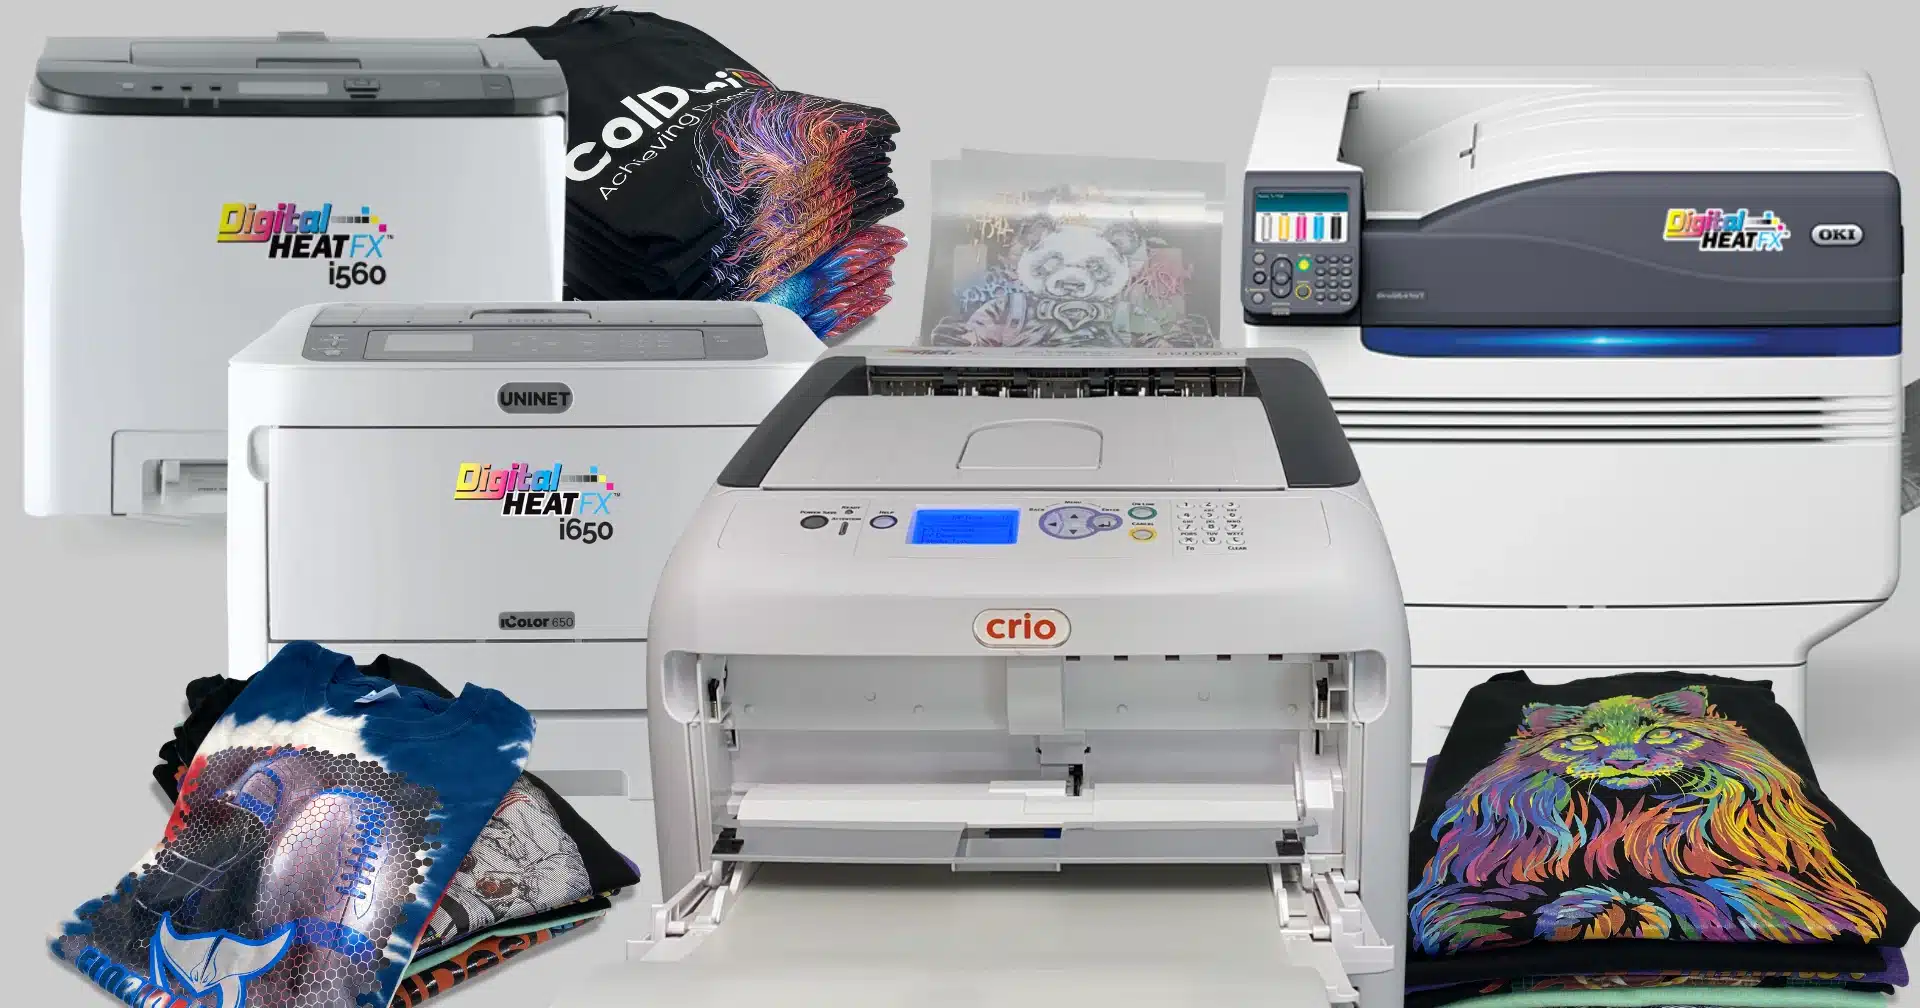
This next method can be done with any of the white toner printers in the DigitalHeat FX line. It’s simple and easy to do, it just requires a few more steps.
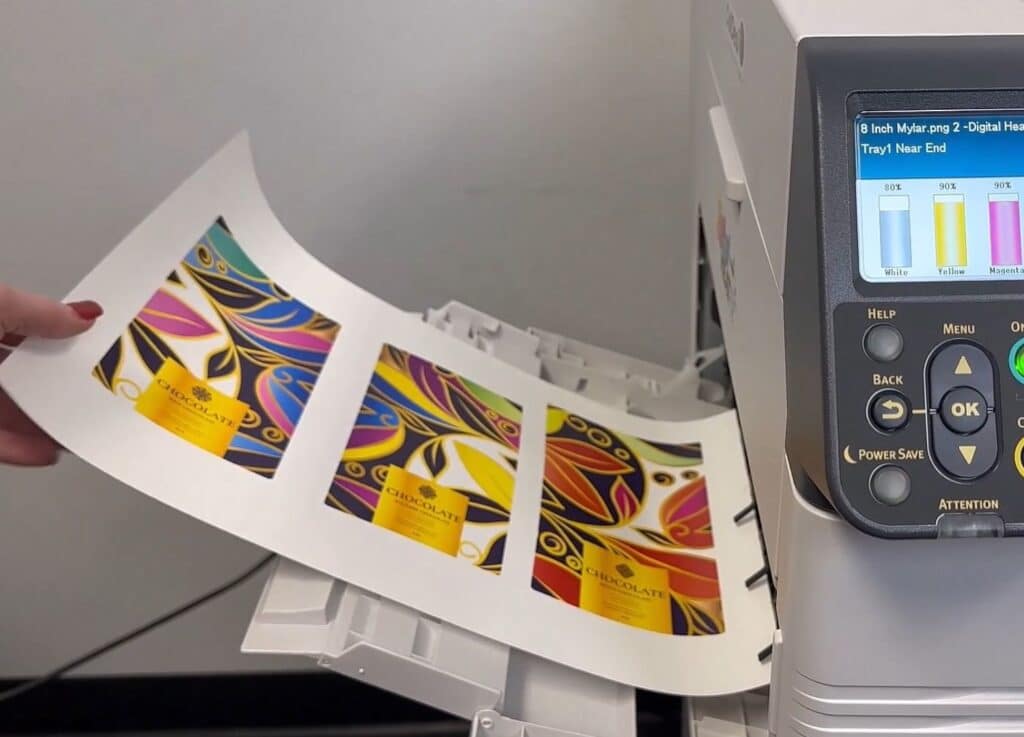
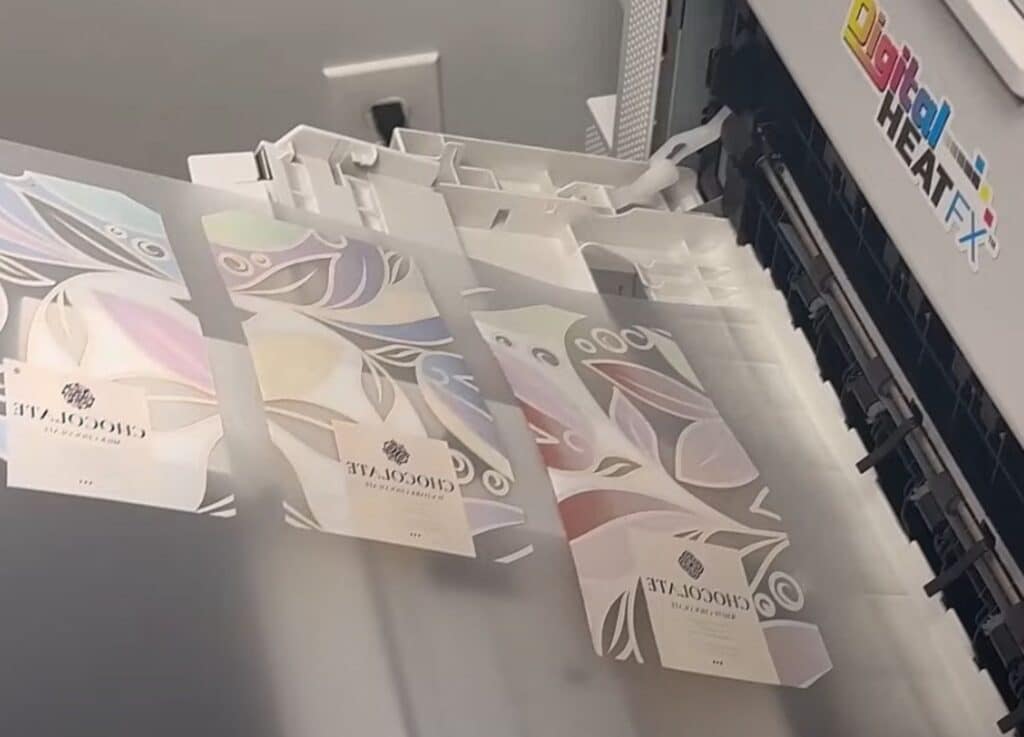
Step 1: Adjust your settings in Print Optimizer Software and load your artwork.
Step 2: Place the “A” sheet into the tray of your DigitalHeat FX printer and print.
Step 3: Perform the marrying step by heat applying the “B” sheet to the “A” sheet of your Forever Transfer Paper. Top with a finishing sheet! Press times may vary.
Step 4: Remove the finishing sheet and peel apart the “B” sheet from the “A” sheet in a low and slow motion.
Step 5: Trim the transfers to the desired size.
Step 6: With the Mylar bags on the heat press, line up the transfers to each one and place a finishing sheet on top. Now it’s time to press!
Note: You can use heat tape to help secure the transfers into place.
Step 7: If you want a “matte” look to your bags, you can perform a quick finishing press.
However, if you prefer a glossier look to your bags, then disregard the last step.
One of the great things about this method is that you can fit a good amount of your artwork onto one sheet depending on the size. So, that saves you some time in printing and transferring.
There is one more way to decorate Mylar bags, so let’s talk about it.
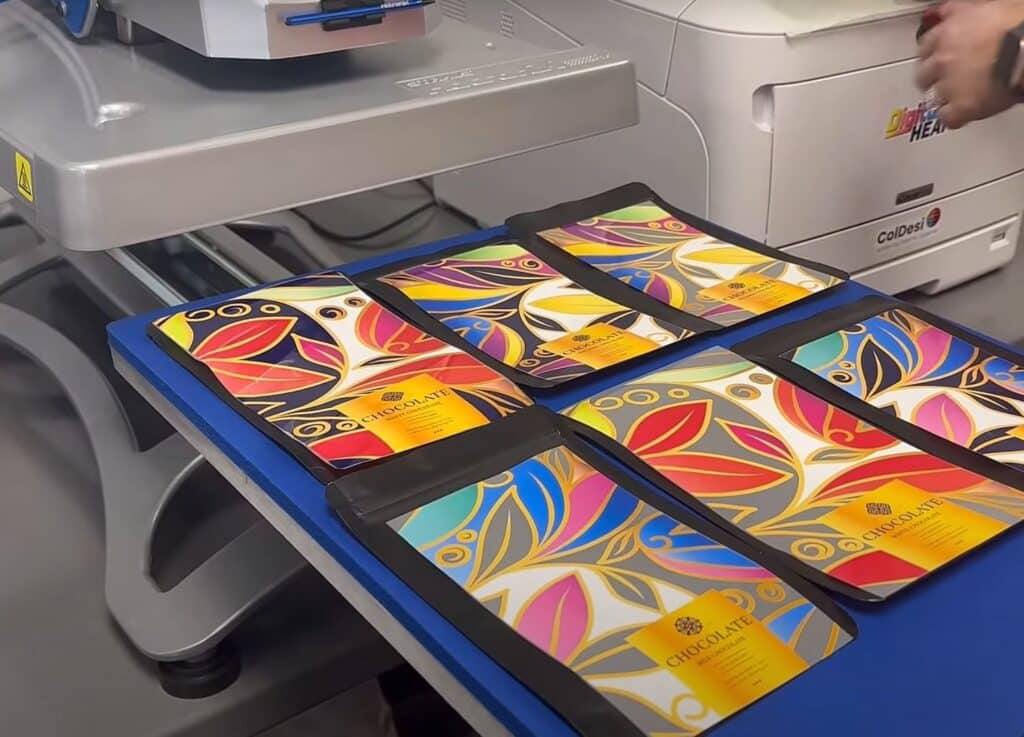
How to Print on Mylar bags with Stickers
The third way to make custom Mylar bags for your customers is by using sticker or label paper. You can purchase laser approved sticker paper and use it in any of the DigitalHeat FX printers.
Here’s how to do it:
Step 1: Adjust your settings in the Print Optimizer Software.
Step 2: Feed the sticker or label paper into the tray of the DigitalHeat FX printer.
Step 3: Cut the stickers/labels out.
Note: If you have a cutter like the Graphtec, you can use this to make crop marks and cut the stickers/ labels out.
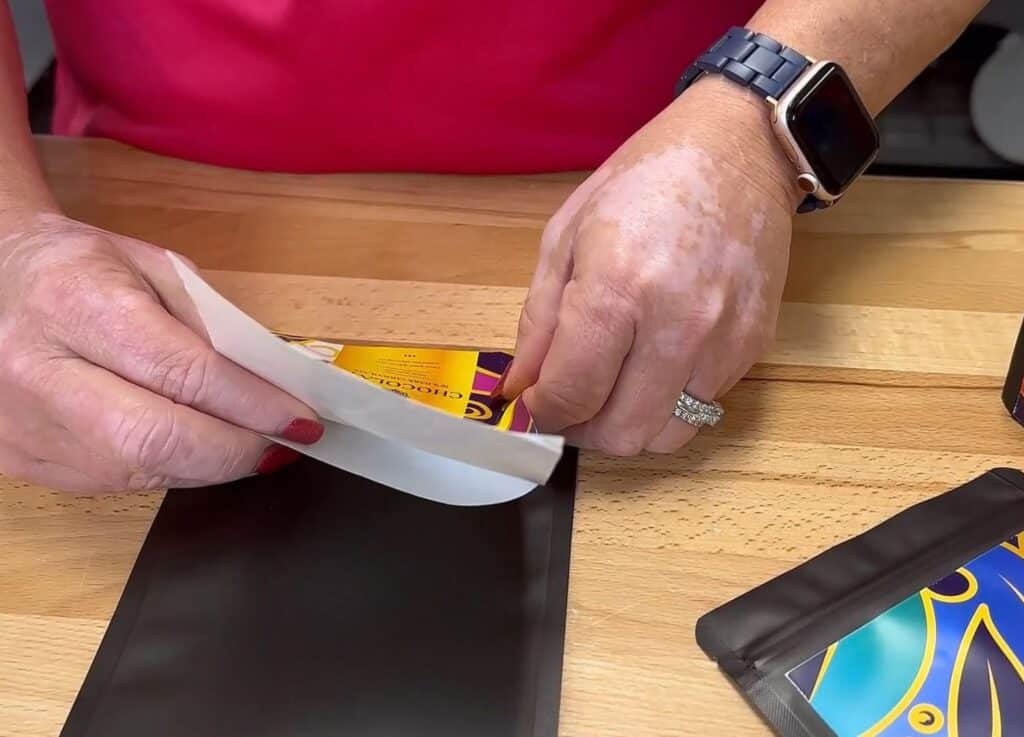
Step 4: Apply the stickers/ labels onto each bag.
As you can probably tell, each of these customization methods are easy to do with the right machines, supplies, and artwork.
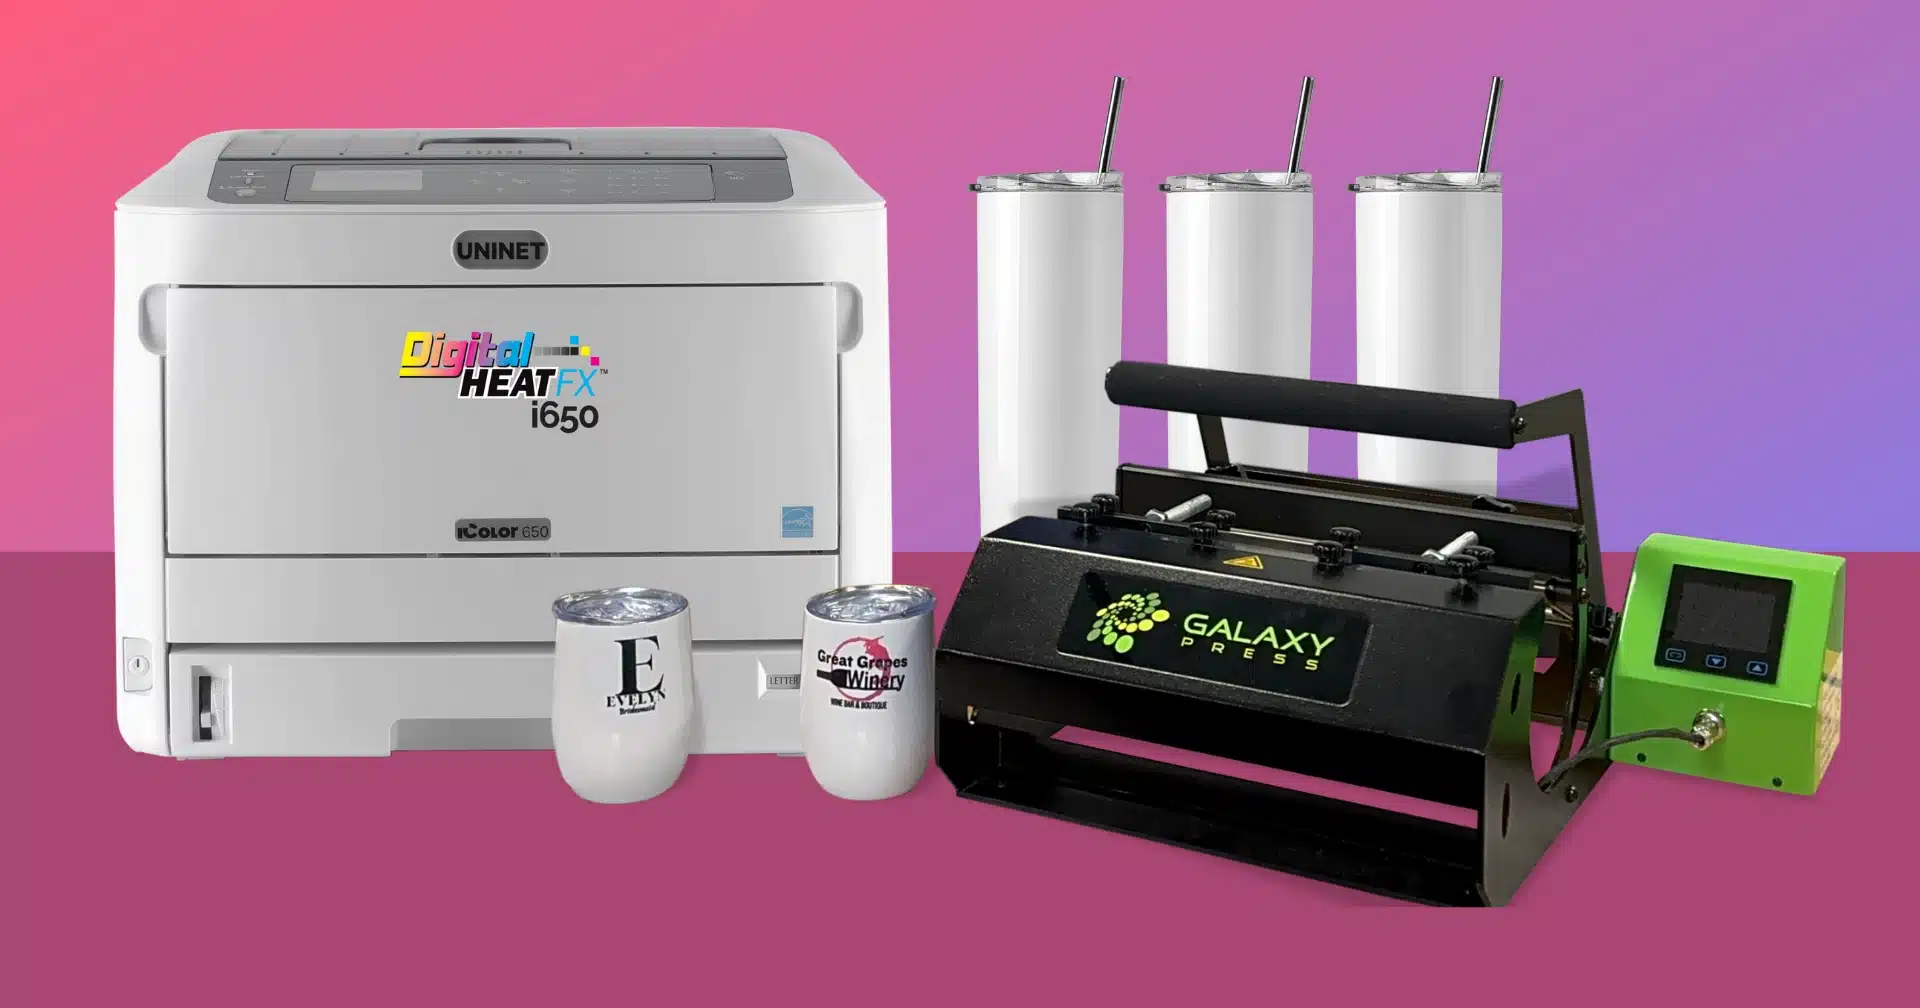
This is just one of the many things you can use your DigitalHeat FX printer to do. These machines are versatile and are great for any size business from hobbyists to large production shops.
