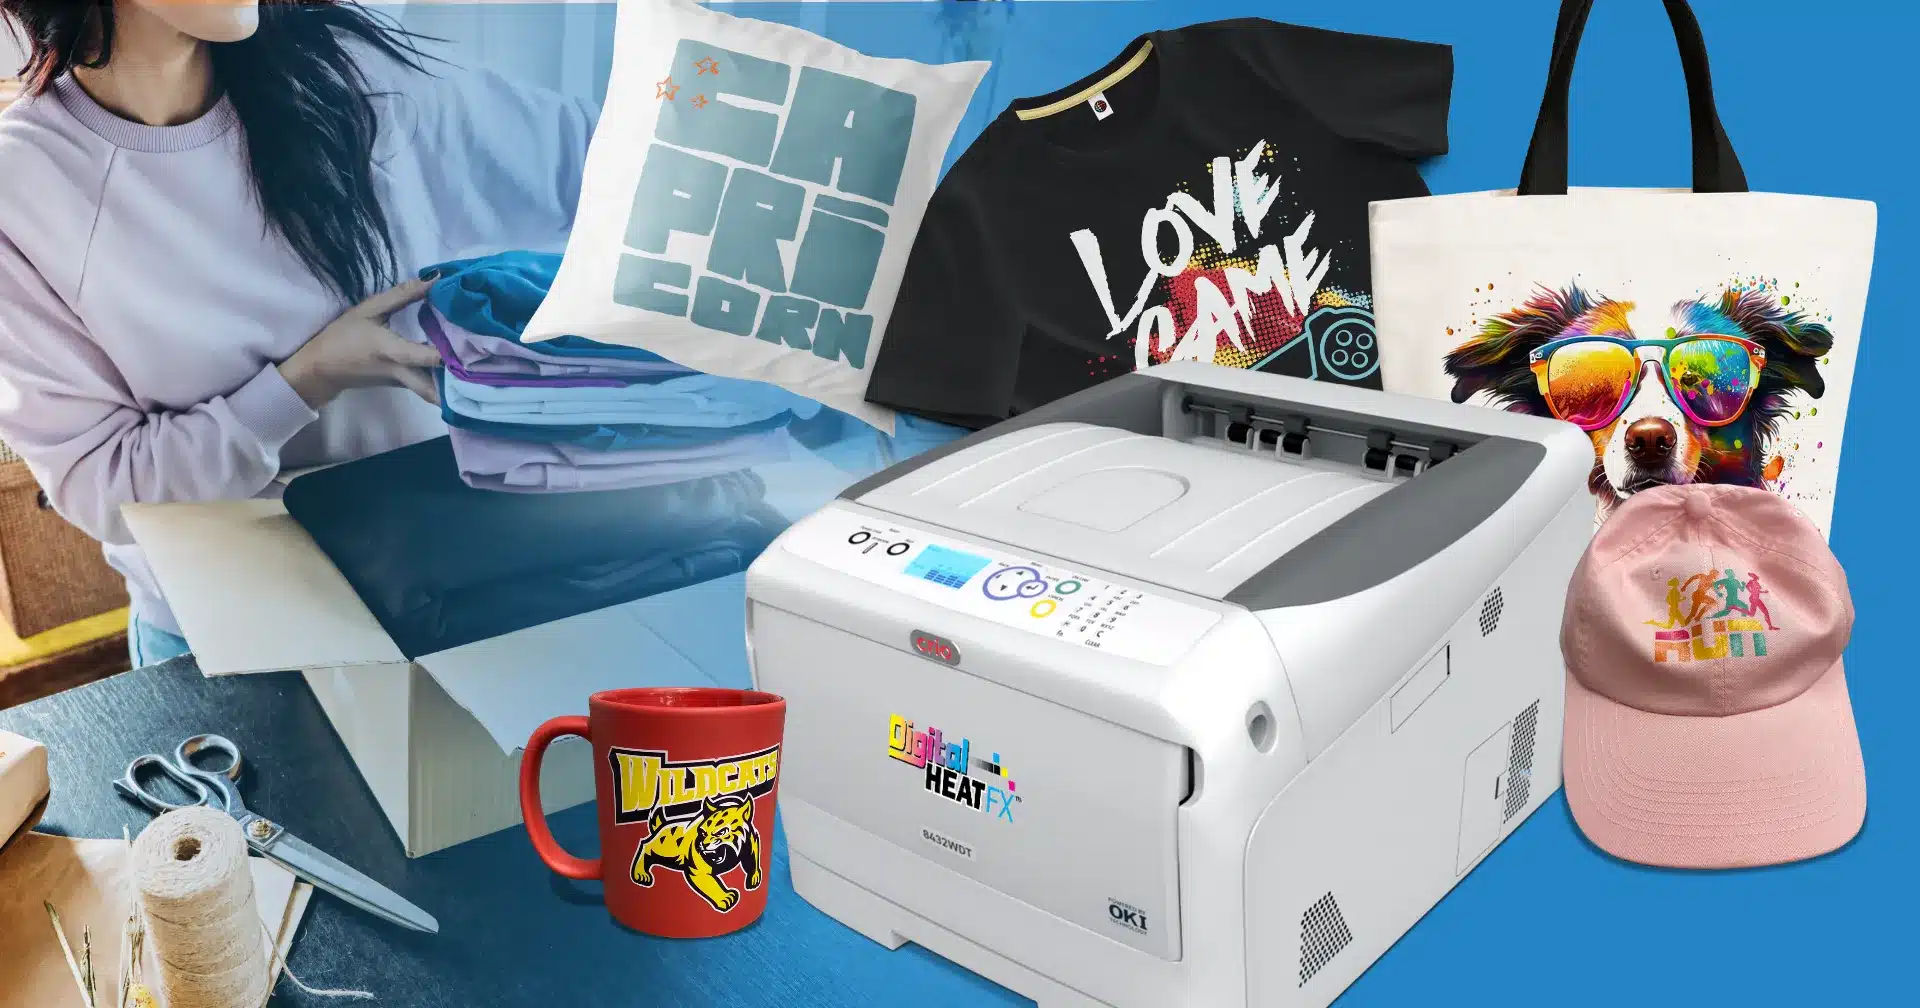
So, you’re looking for a versatile printer that will allow you to customize a wide variety of products from t-shirts to mugs without breaking the bank but don’t know where to go…
This is where white toner printing comes into play.
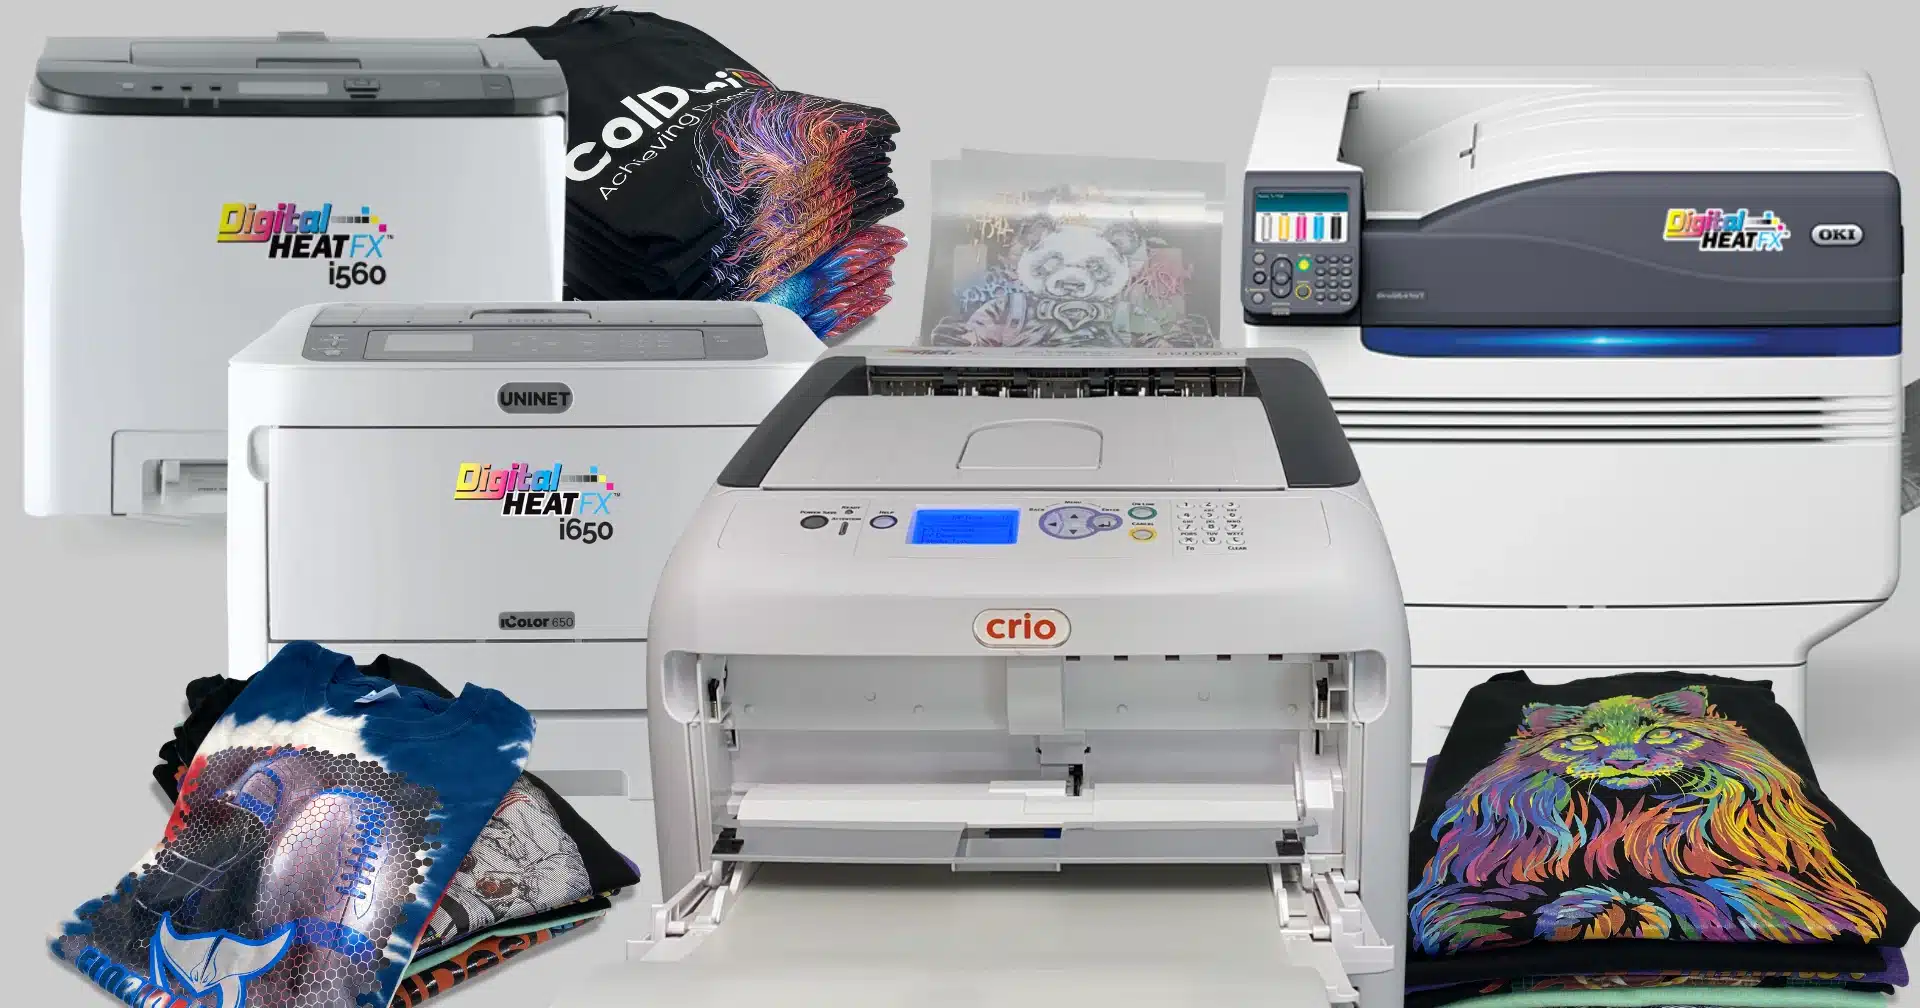
At ColDesi, we offer white toner printers under the brand DigitalHeat FX.
There are a few printers to choose from like the iColor 650 to help you start or expand your business.
But before we get into the details of the iColor 650 printer, let’s go over the basics of what white toner printing is.

What is White Toner Printing?
White toner printing is one of the easiest and quickest ways to enter the customization world.
Unlike other decoration methods, white toner printers allow you to print white. Plus, these transfers can go on both light and dark materials ranging from cotton and polyester to ceramic and wood.
There is no liquid ink involved, just toners so these machines require little to no maintenance.
That’s right, no pretreat spraying, screen print set up, or weeding is necessary. This is what separates white toner printers from the rest.
With white toner printers, there are only a few items you’ll need to get set up:
- Transfer paper – We recommend EZ Peel White Toner Transfer Paper
- Heat Press – We recommend the Hotronix Fusion IQ
- Finishing Sheets – Either standard or flexible
- Blanks – T-shirts, mugs, tote bags
- Software – The Print Optimizer Software comes with each DigitalHeat FX printer
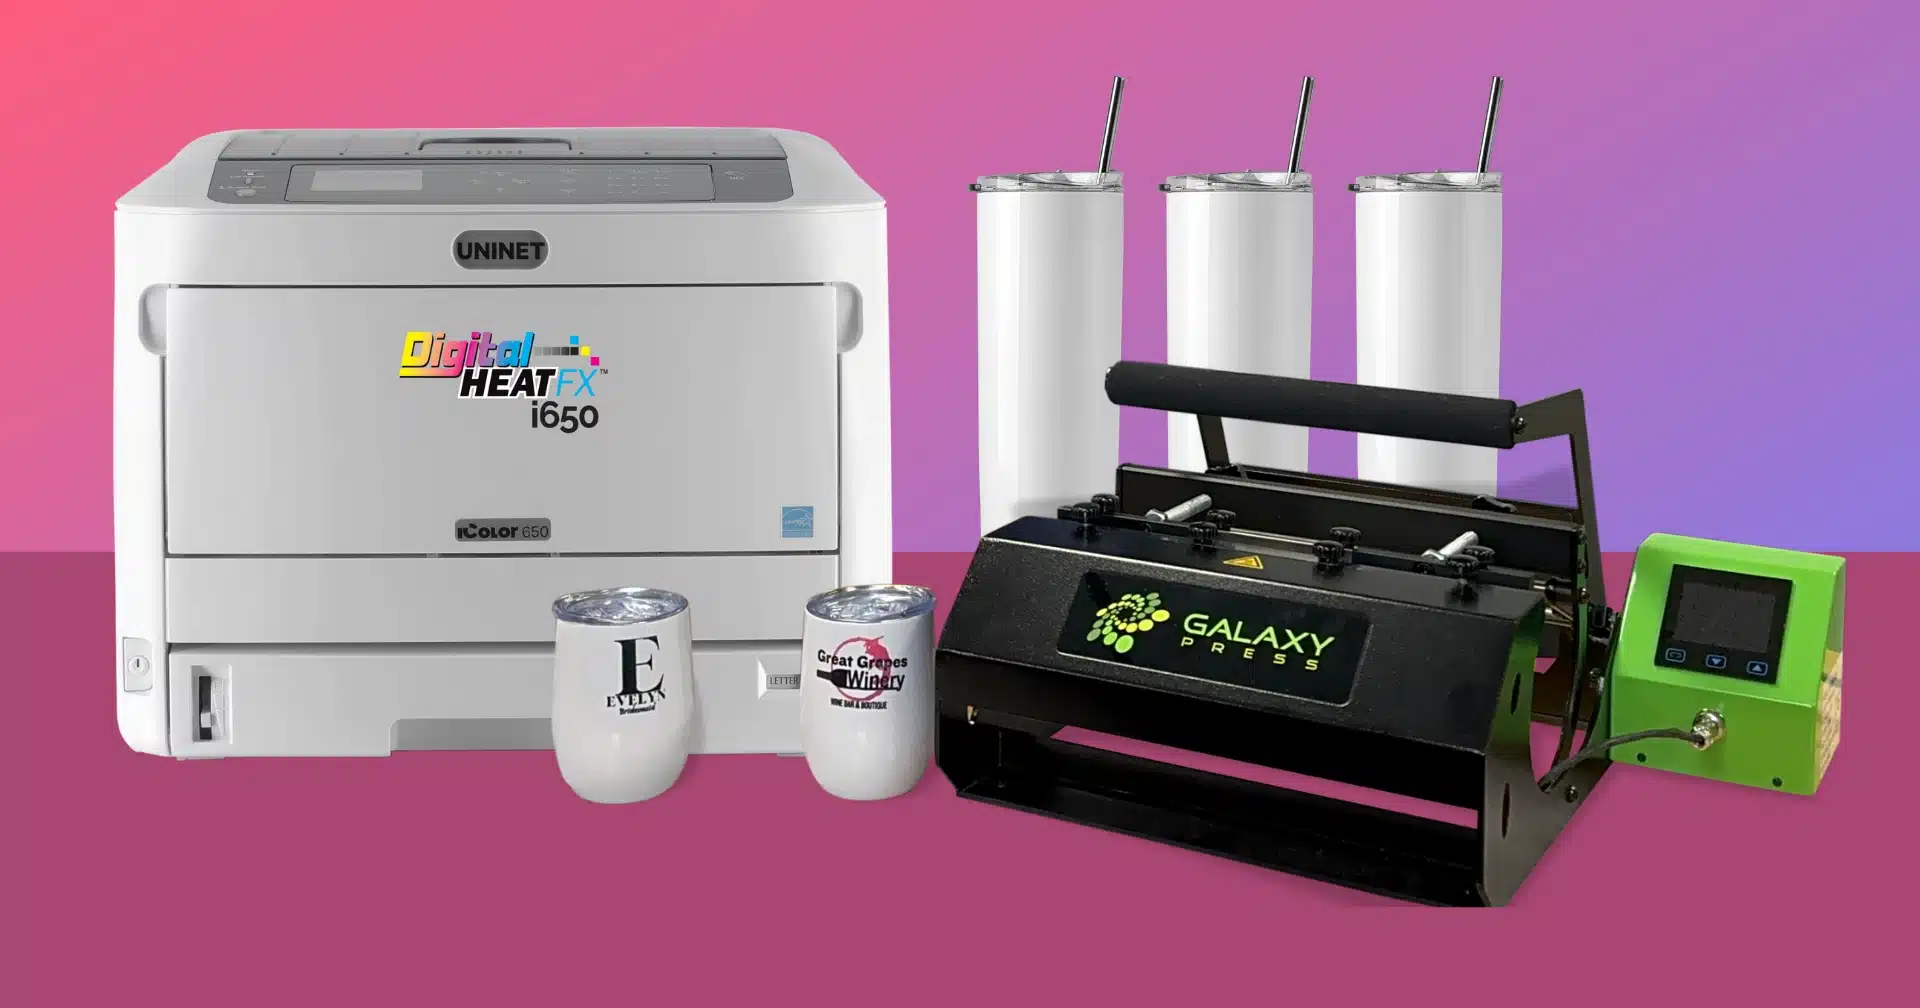
Keep in mind that if you’re trying to customize items like mugs or caps there are specialty heat presses that you will need. But for now, we’re just going to talk about decorating t-shirts.


What is the iColor 650 printer?
Perfect for a home office or kiosk, this desktop sized white toner printer is perfect for you if you’re looking for speed, ease of use, and savings.
Speed
Compared to the DigitalHeat FX i560 printer, the i650 can print up to 36 A4 sized sheets a minute and has a maximum print size of 11”x 17,” which is twice as big as what the i560 can print.
This gives you the ability to print tons of small logos or designs or even a few bigger designs all on one sheet.
Ease of Use
We know firsthand that the idea of learning how to use some of this machinery and equipment can be a bit nerve-wracking which is why we made sure to include training and support from white toner printing professionals who have been in the business for years.
You’ll get step by step instructions on how to use the iColor 650 along with how to use the Print Optimizer Software it comes with.
Savings
There are a few ways that you’re saving with the iColor 650.
1. We offer bundles starting at $8,795 that include everything you need to get started.
2. Print Optimizer Software reduces how much toner you use for designs.
3. There isn’t another printer like the iColor 650 that is just as versatile for a lower price.
Some of the other things that separates the iColor 650 from other white toner printers is the toner swapability.
It’s a four-color system but you’re able to swap out your standard toners for bright fluorescent and metallic toners if you’re working on a more unique project.
Plus, you can also swap them out with sublimation toners!
So now that you know a little more about the iColor 650 white toner printer and what it can do, let’s teach you how to make your first t-shirt!
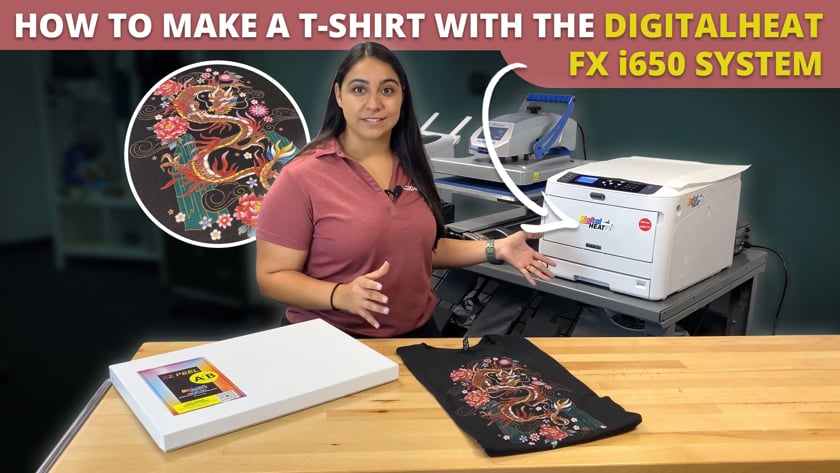
How to Make Your First T-shirt
This is the exciting part! Now you’re going to learn how to make your first t-shirt using the Uninet iColor 650 printer.
Here's how it works:
Step 1. Load the “A” clear printable sheet of the EZ Peel Two Step Paper into the front panel of the printer.
Note: Make sure to load the paper in with the print side facing up.
Step 2. Bring your design into the Print Optimizer Software, making any adjustments necessary, and print!
Step 3. Following the instructions that can be found online for the EZ Peel paper, set your heat press to 285 degrees Fahrenheit for 100 seconds at a medium pressure.
Step 4. Once the heat press is ready, lay the “A” sheet on the press (printed/ frosted side face up) and add the “B” adhesive sheet right on top of it. Add a finishing sheet on top and press!
Step 5. Remove the finishing sheet and peel the “B” sheet from the “A” sheet slowly, without lifting the sheets from the bottom platen of the press. This is what we call the “marrying step.” The adhesive from the “B” sheet is ONLY sticking to the toner that is on the design.
Tip: Perform the marrying step slowly and steadily. It’s best to not pause or stop in the middle of this step or it will cause the transfer to ruin.
Step 6. Trim the edges of the transfer to avoid an extra adhesive from pressing onto the shirt.
Step 7. Prepress your t-shirt for a few seconds to remove wrinkles.
Step 8. Add the transfer to the desired location of your t-shirt, add a finishing sheet on top and press!
Note: Depending on what material the shirt is made of will determine the new time and temperature your heat press will need to be set to in this step. Refer to the EZ Peel Two Step Instructions for that information.
Step 9. Carefully remove the t-shirt from the press and set it aside to completely cool down.
Step 10. After the t-shirt and transfer are cooled down, rip the transfer off the t-shirt in a single, quick motion.
Step 11. Place your t-shirt back on the heat press with a finishing sheet on top and perform a finishing press for 20 seconds at the same temperature. You can also use a flexible finishing sheet for the final press for a more textured look.
Just like that, you’ve completed your first custom t-shirt with the Uninet iColor 650 printer!